The 515 Bathroom Remodel-Cabinets

All remodels require many steps and, the different trades involved are separately working on their particular specialty, just waiting for their turn to do the installation.  This is where and why our bathroom remodel took the 515 days to complete.  There was only one very handy, engineer husband doing virtually all the work.  That is, he was demolition guy, plumber, cabinet maker, tile and stone mason, electrician, flooring installer, along with ordering all the parts for every one of the above tasks.  My engineer wears many hats.

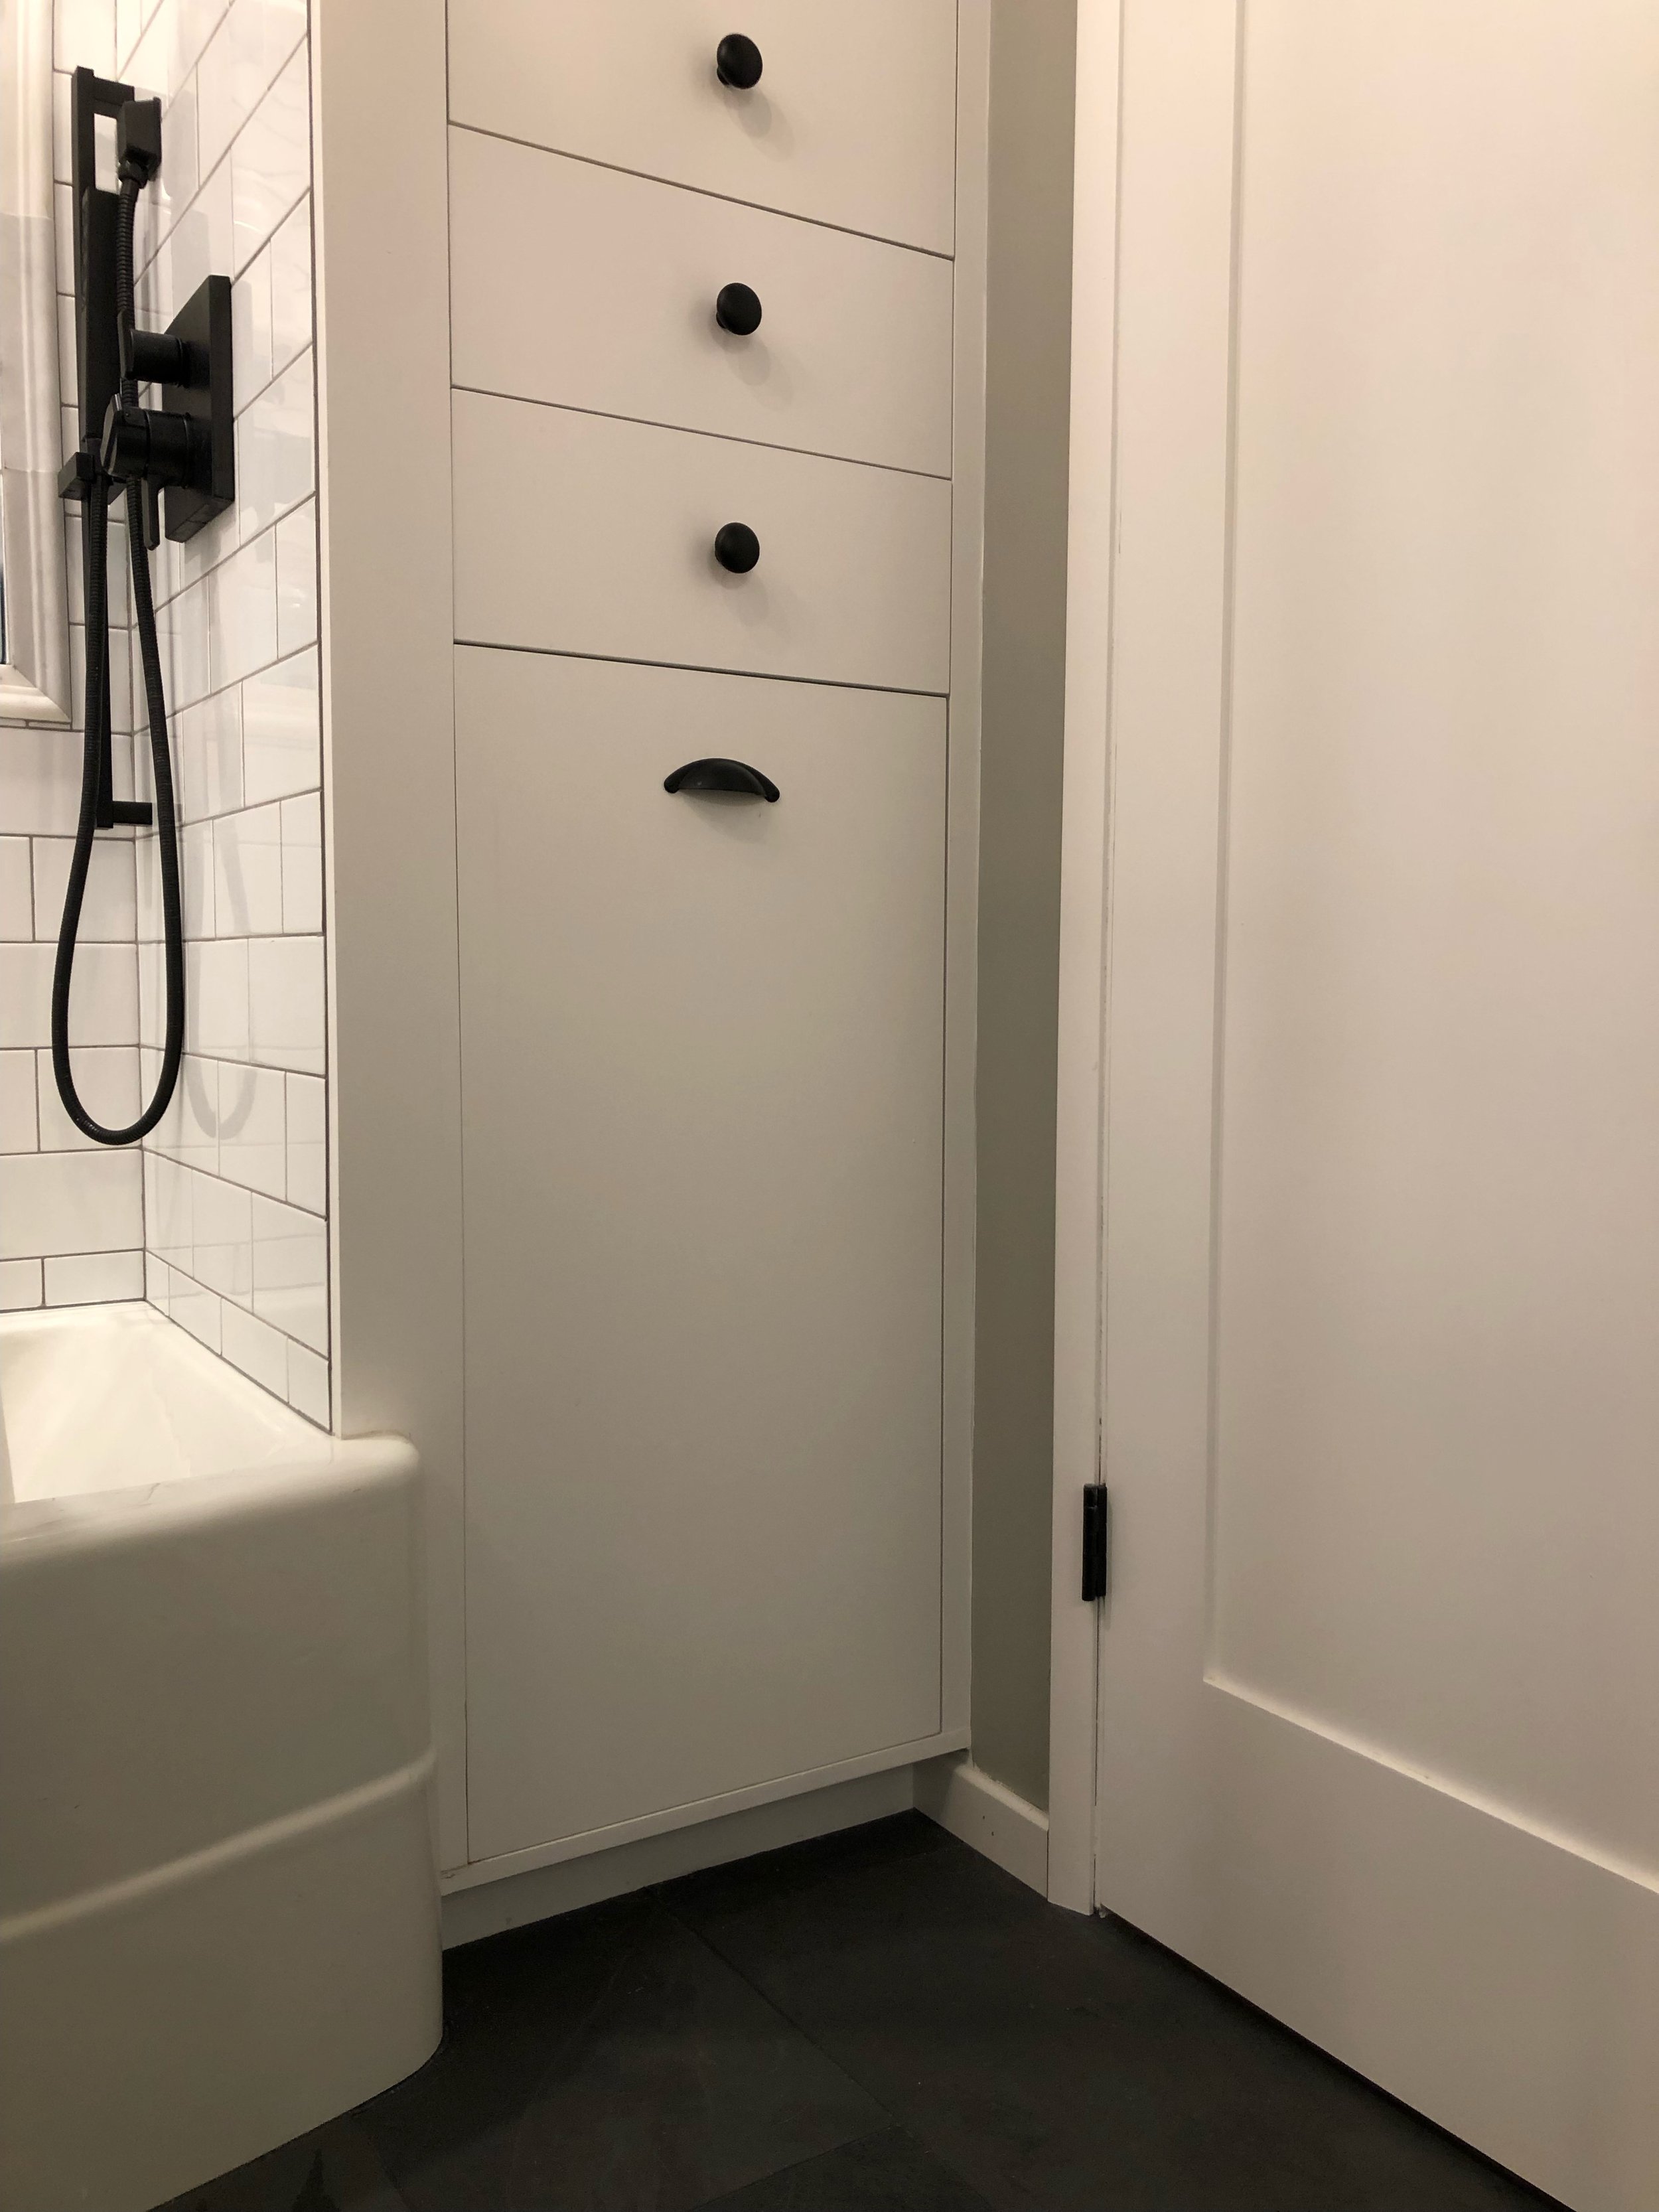
One of the engineer’s favorite mediums to work in is wood.  I offered that we could have the cabinet maker I’ve used before make the vanity and linen cabinet for the bathroom, but he wanted to make them himself.  There was one caveat with the vanity cabinet.  I wanted a decorative detail applied to the drawers; again, offered a couple of different ways he could achieve the look I wanted.  One, was to apply a simple, thin molding to the outside of the drawers.  Two, we could paint the detail on the drawers, or three, he could inlay them with a thin ebony trim.  Naturally, he chose the latter, it was a new challenge for him, and he began researching materials.  Adding the trim would turn out to be one of the last things done once the bathroom was totally functional, since it required more exacting patience and skill.  He had made the drawer fronts so they could be removed to perform this task.

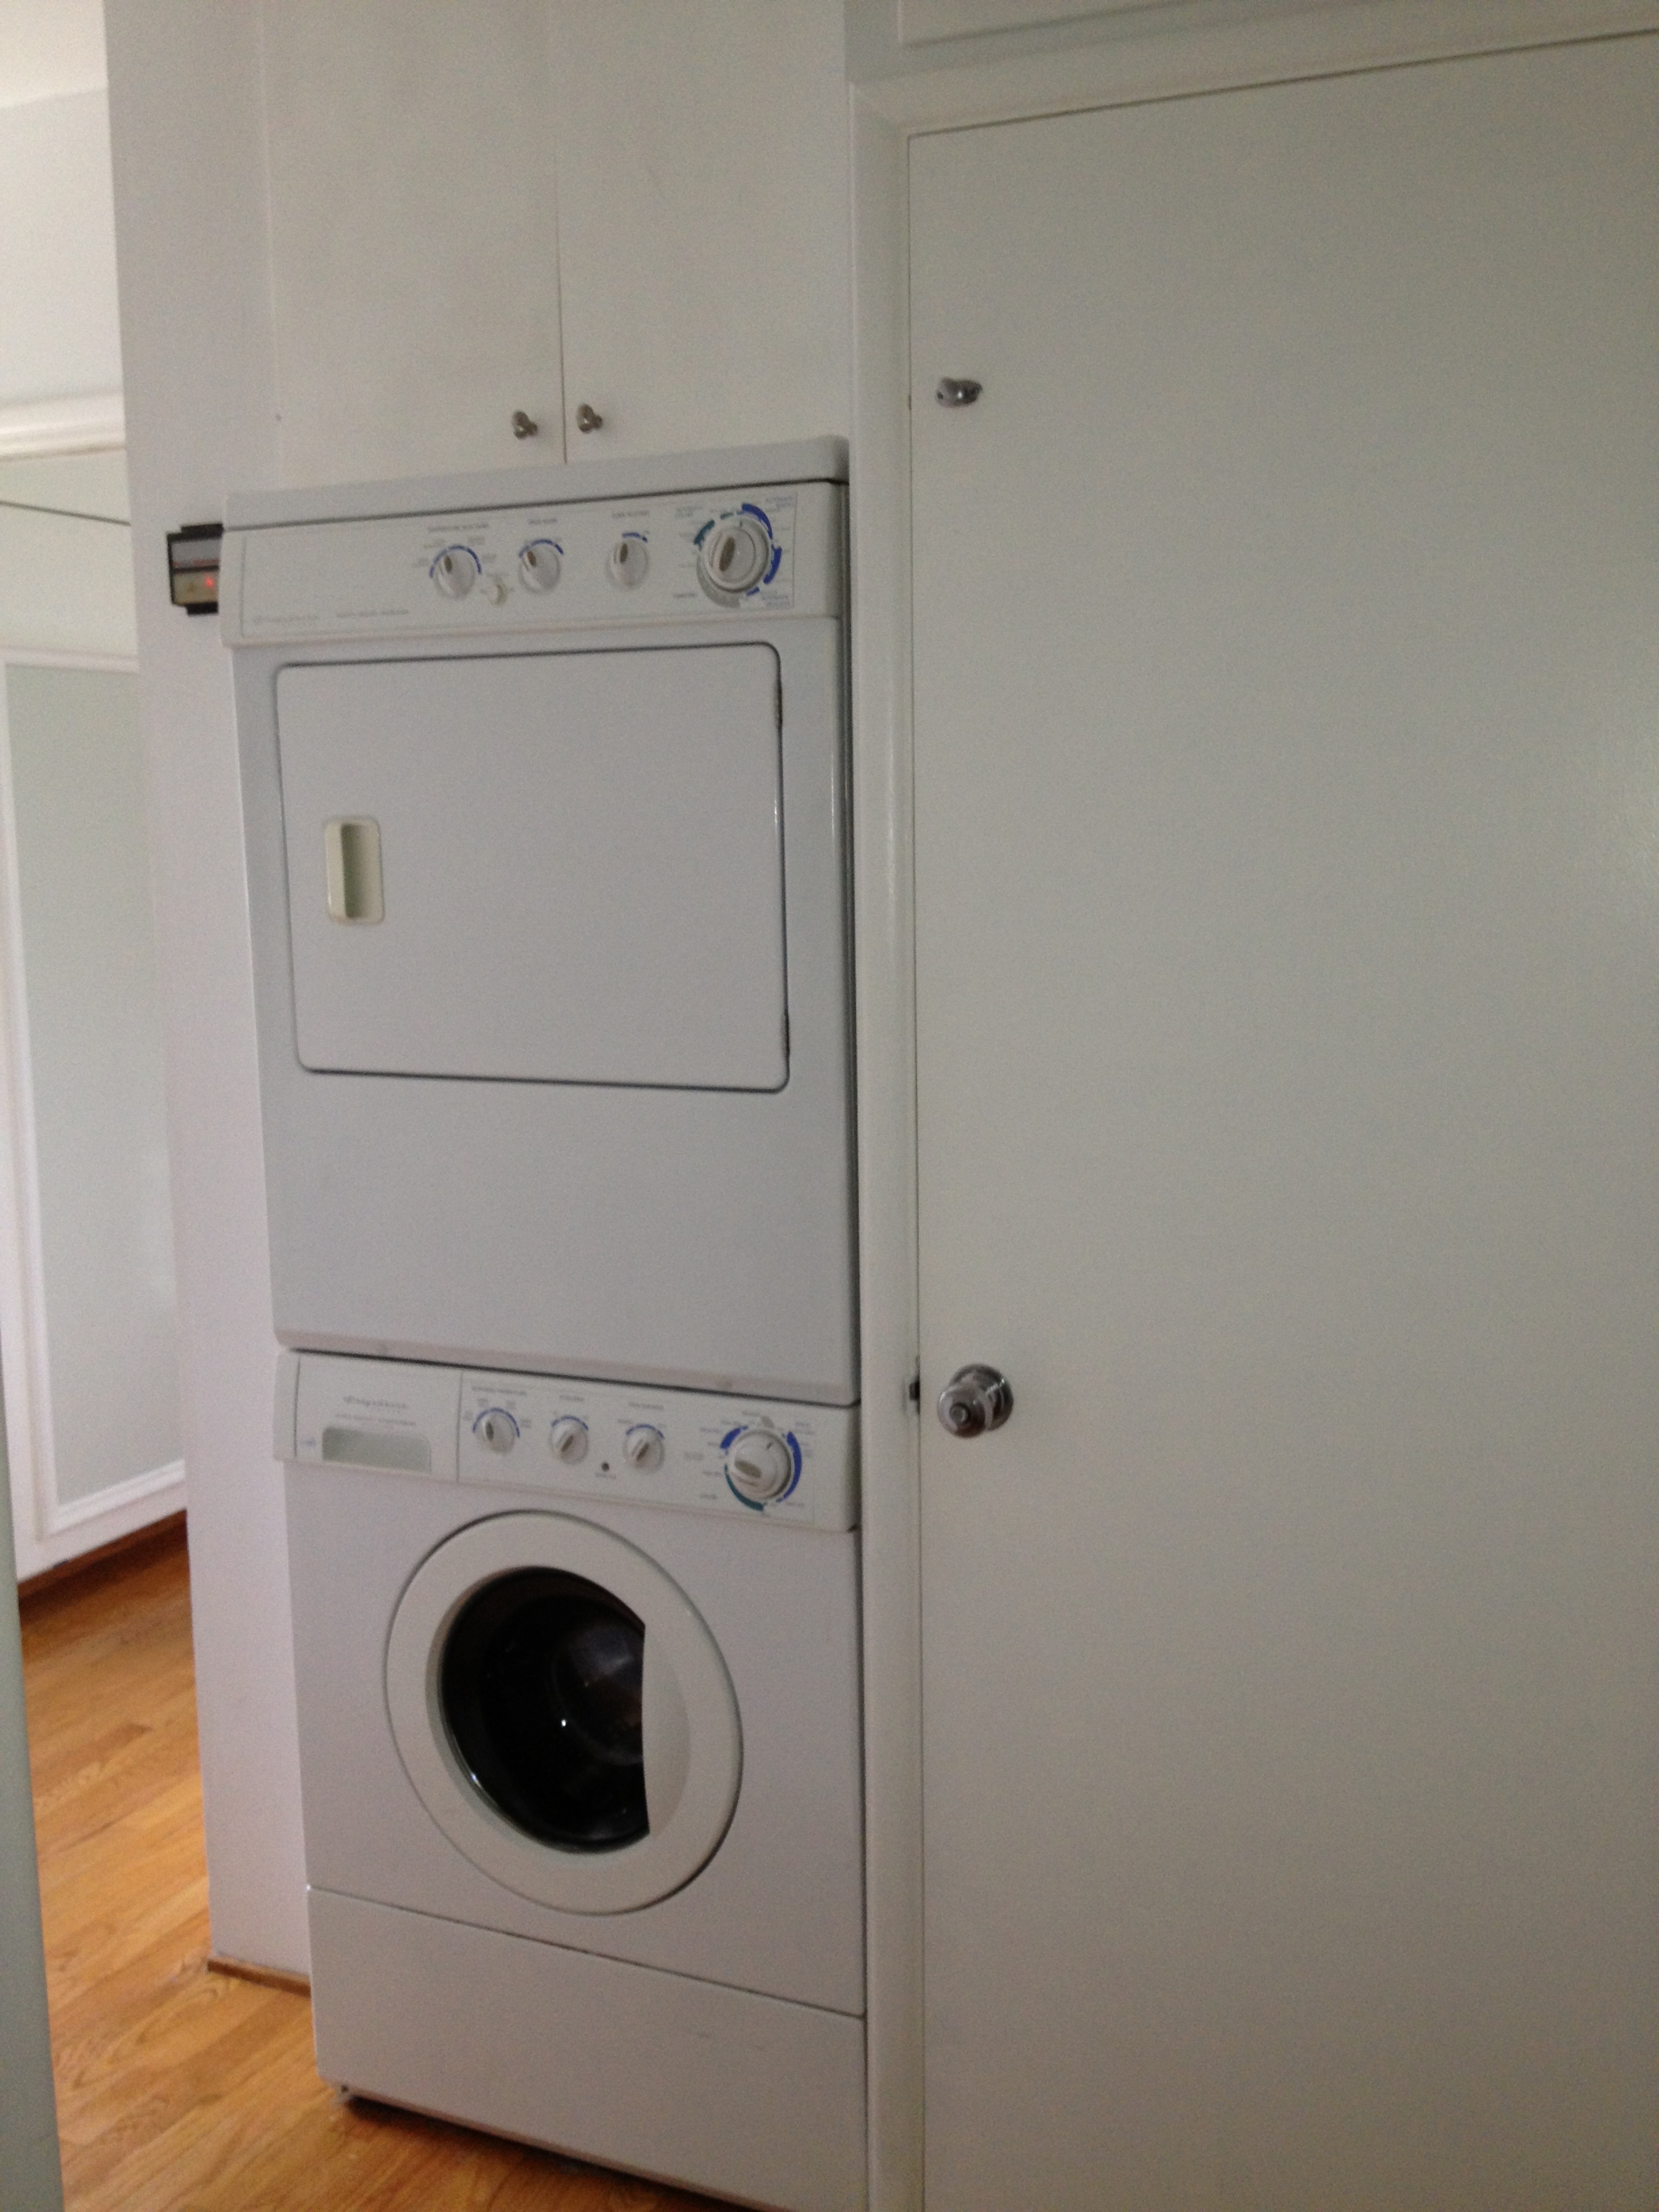
The first cabinets he worked on was the linen, drawers and laundry cabinet.  These three spaces all functioned independently, but had to occupy one space.  As you will recall from the previous post, the shower wall had to be created with the linen cabinet as a support wall.

We had decided on a simple flat faced, inset cabinet style.  This is a more precise style of cabinet to build, so it took more time.  Not to mention having to drive some distance to obtain the needed materials, remember this is in the time of Covid, with limited stock and access.

To maximize storage, the cabinet was built to the ceiling and several shelves were planned to accommodate towels, supplies and various and sundry bathroom items.

The laundry pull-out was a design the engineer devised to suit our needs.  He found a large wheeled laundry basket and built the pull out bin to be one that the wheels could just roll off the platform and onto the floor without having to lift the heavy basket.

Once the cabinets were built, they could be installed and the shower plumbing could be finished.  There is an access panel inside the linen cabinet to get to the plumbing should that be necessary.

The engineer then began working on the vanity cabinets, since he had purchased all the wood needed for both the linen area and vanity.  There was much measuring and figuring as he wanted to allow for the largest drawers and full extension.  This was the result of living with cheap, ineffective drawers on one half of the vanity and practically non-usable drawers on the other half.  

The inlay is one of the most noticeable details of the entire remodel.  The engineer built a jig for his router to be just deep enough so that the ebony wood would be flush with the surface of the drawer face.  The effect is dramatic.

I was so excited to be able to get those drawers organized.  I am not a fan of having a lot of things on the counter and with a huge trough sink, there isn’t much counter space to begin with.  At this point the bathroom was beginning to feel much more finished.  But, I’m getting ahead of myself, the tile couldn’t be started until the sink counter was set.


Next:  Tile and stone

Laundry Rooms--To Stack or Not To Stack

Laundry rooms are without a doubt a service area, but they can be attractive, colorful and functional spaces.  In two recent cases, I faced with the question of whether or not to stack the washer and dryer.  In the first case, stacking was the most practical application given the available space, a very awkward room inside the garage.  

Removing a deep and poorly spaced shelf was the first practical thing to do.  The client was using it for storage with predictable results:  things were out of sight and got lost.  The shelf was too high and too deep.  What seemed like a good idea in theory was disastrous in practice.  

Once the shelf was removed, it was clear that stacking the washer and dryer was the answer to this awkward room.  The space once occupied by the washer became available for easy-to-reach narrow shelves to hold laundry products within easy reach of a person of any height.

The second laundry room was an addition added to the existing room.  In this space, the washer and dryer could be useful either side by side or stacked.  Stacking the appliances in this instance improved the storage capacity of the room.  Since only tall people could access cabinets above the washer and dryer easily, stacking would permit the space for a tall cabinet into which anyone could reach for laundry or cleaning products.

In this second situation, stacking allowed more visual space and made room for a folding table or desk, adding another definite advantage.  This laundry room provides a corridor to the back yard and patio where the homeowners hold summer parties.  As an additional bonus, this space make a great landing place for food, buffet style, keeping insects outside and off the prepared foods.

Changing out the old door with windows in the top half for a door with a full window from top to bottom floods the room with light, making it feel even roomier.  Tall ceilings and more windows are the answer to many small room problems if they can be made to fit into the remodeling plan.

Stacking the laundry makes a lot of sense for most applications, but side by side appliances allow for a counter on top for folding, if you are lucky enough to have windows above the machines for light and air circulation and do not have to reach into upper cabinets.  

Make sure you look at all the aspects of your situation, keeping in mind that light as well as storage need to be considered.

Contrast Adds Drama

While it is true that high contrast will add drama to a room, it is wise to consider how you use contrast.  A painted accent wall is fairly easy to change should you decide you cannot live with the drama the color created, but a floor or a tiled backsplash or shower enclosure is a bit more complicated in terms of expense and time invested.

When you are considering changing something more permanent in your home, like flooring and counter surfaces as well as backsplashes and tub/shower enclosures, try less contrast.  You will be living with these changes for a long time and a classic surface in these areas will serve you better.

Think of all the homes built in the early to mid-20th Century; for the most part, these homes were built with hardwood flooring.  Over the years, as wall to wall carpet became popular, these floors were covered with soft, colorful carpet.   Today, that carpet is considered undesirable and old fashioned.  Carpets in older homes are routinely being  pulled up, exposing those now treasured hardwood floors.  If the wood is in good condition, a simple sanding, staining and fresh coat of polyurethane to preserve its beauty for another half century or more.

Choosing a new color for the floor will be important and fairly permanent.  While it may be tempting to add or stain a border or pattern, think in terms of long term use and how you will feel about such a contrast as a wide, light or dark border verses a solid-colored floor.  An exception to this rule, would be if the floors cannot be successfully refinished, but can be painted instead; then I’d say, go ahead and paint a fun harlequin pattern or boarder.  While the traditional black and white pattern is always popular, you can use softer colors for less contrast, like shades of grey or spa colors like blues and greens; even shades of beige would be a calm and peaceful color combination. 

Tile and natural stone is an expensive and fairly permanent surface for kitchens and baths.  Tempting are the bright colors and fun patterns, but again, consider how long it will be in style, staying classic is wiser.

Unless your home is clearly in a particular style like a Spanish Revival or Spanish Colonial, the use of colorfully patterned tiles might be a bit risky.  Adding cute “accent tiles” to a kitchen backsplash will date your renovation very quickly and reduce its value at resale time.

If using these colorful and playful tiles is something you have your heart set on, use them in less permanent ways.  For instance you can make tile trivets and hang them on the backsplash to add some personality without risking the need to tear it out once you tire of it.

When considering high contrast, think about how long you will live in this home and consider the home’s style.  High contrast will give you high drama, but you can enjoy soft contrast too and it is often easier to live with in the long term.