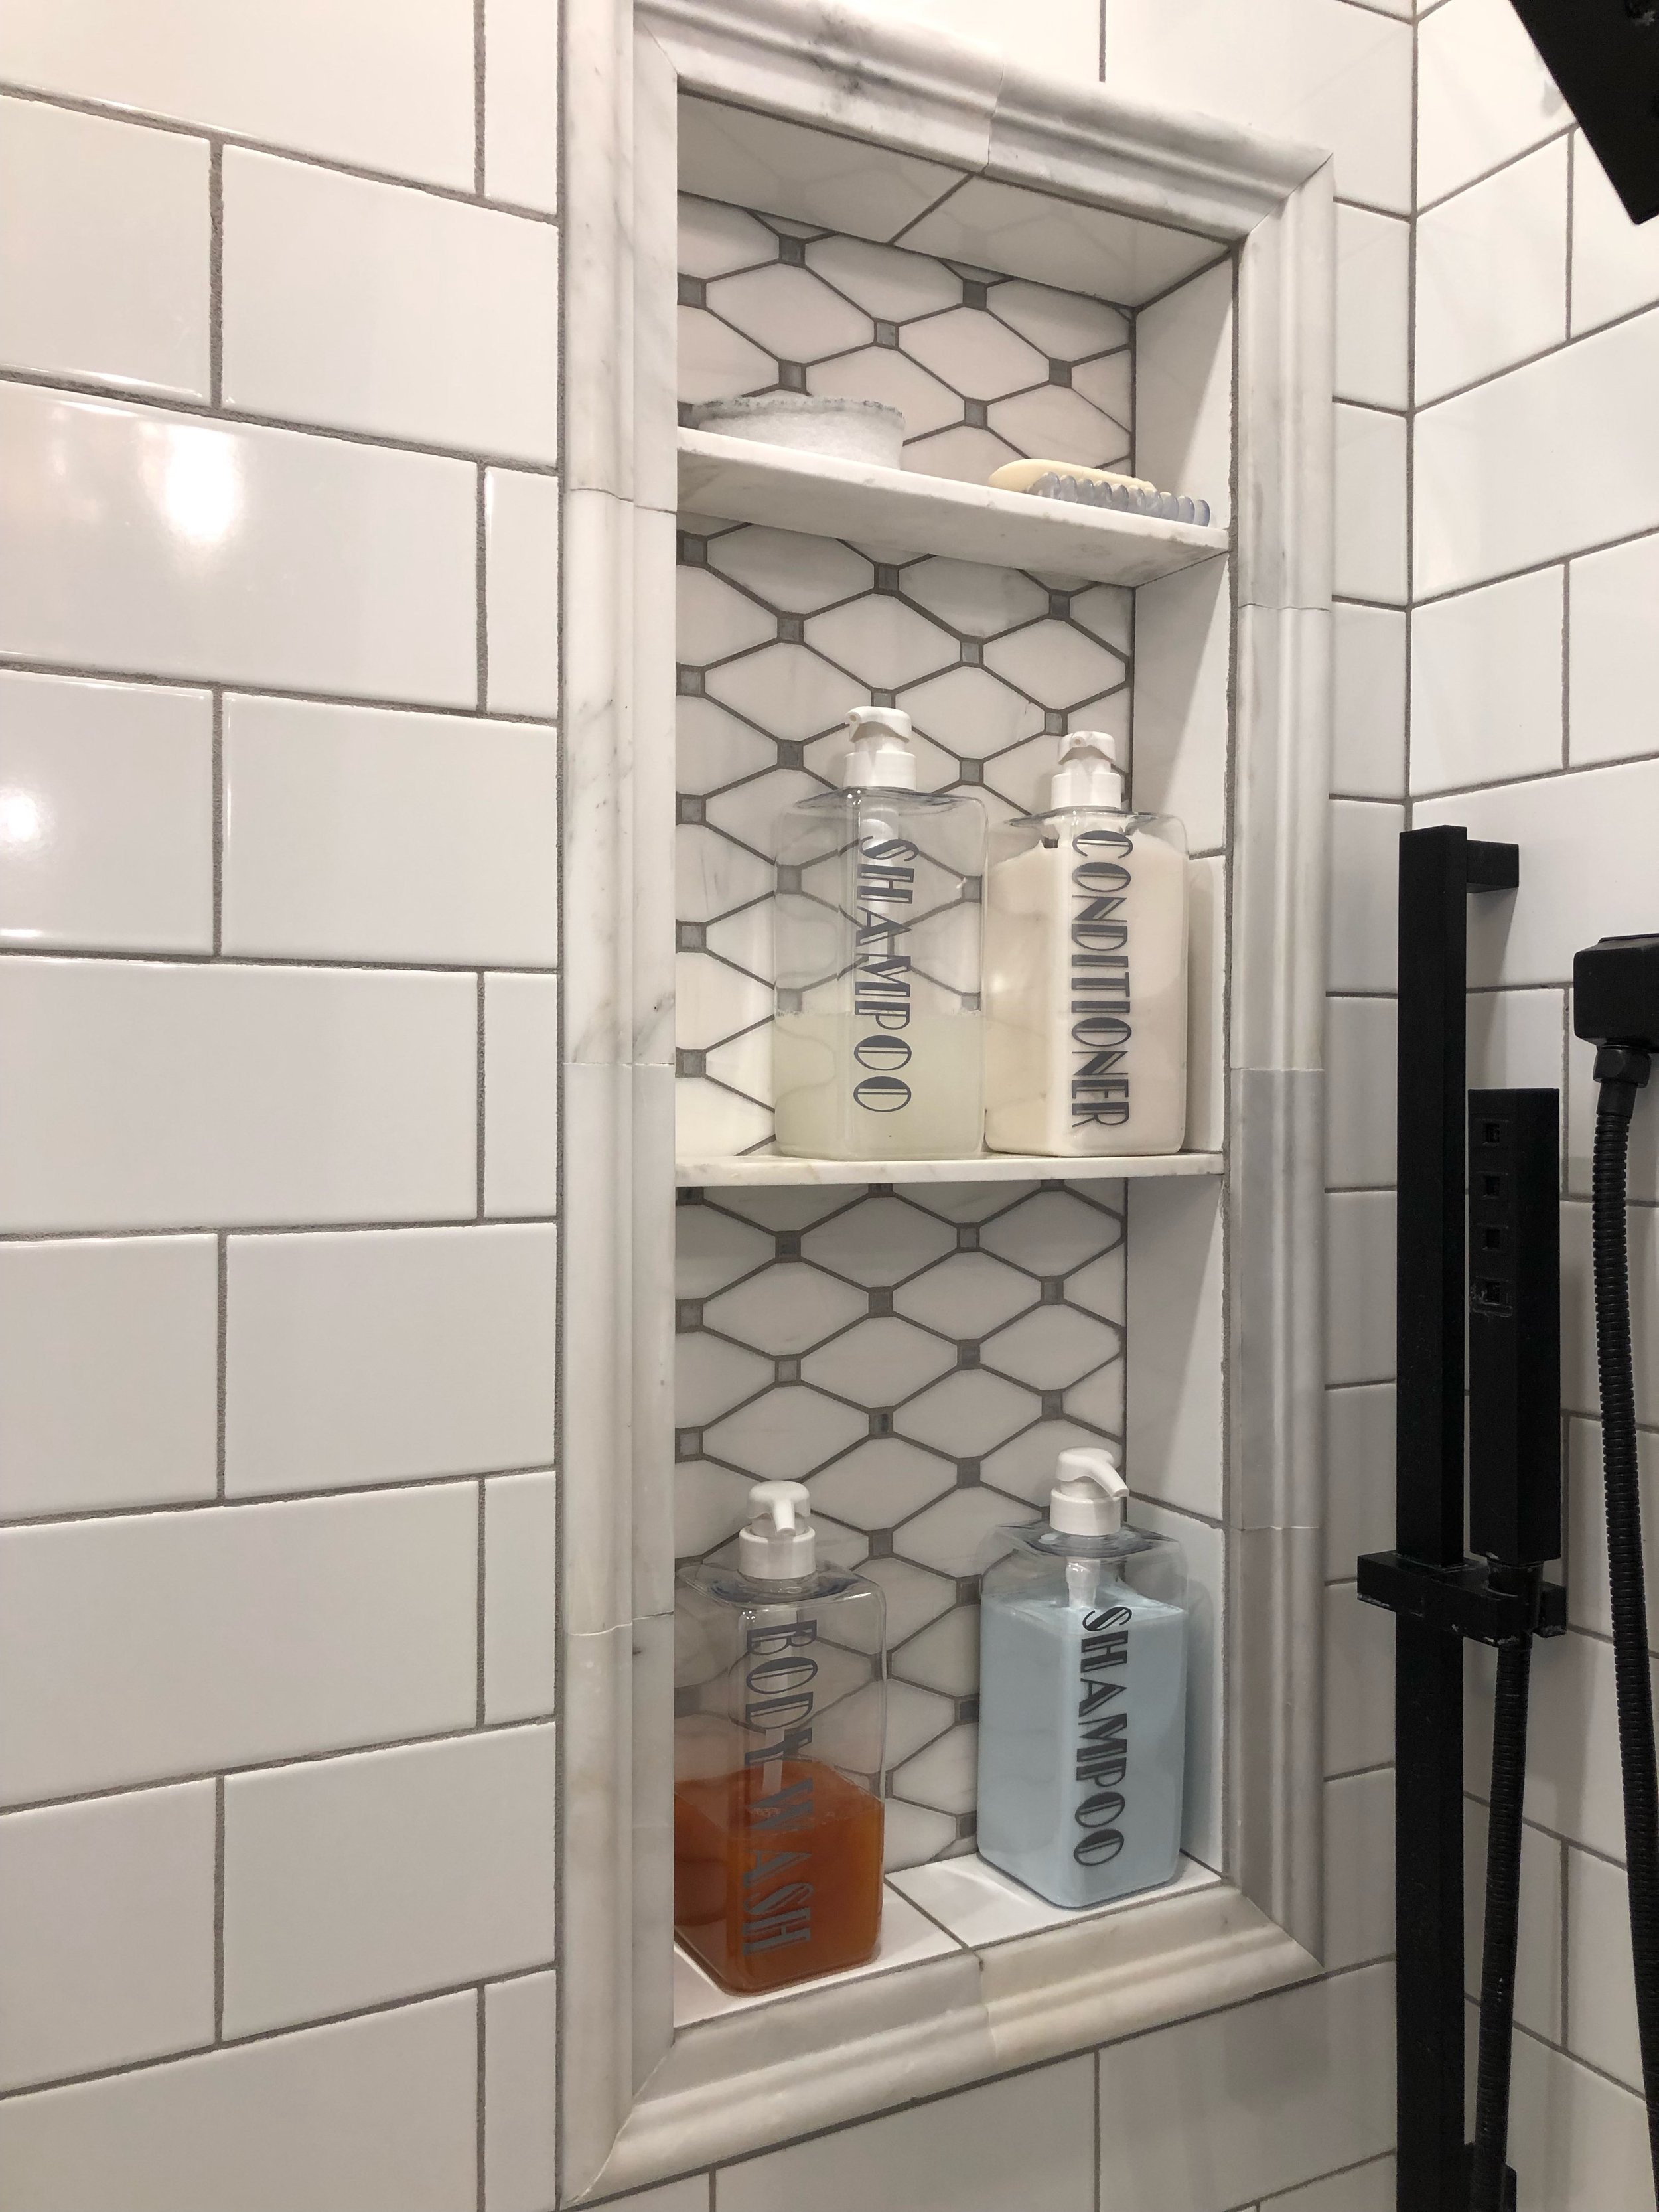
Finally some pretty stuff. The tile had been stored in the tub initially and now it was time for it to be applied to the walls, oh happy day.
However, first there were again many measurements to be made, while the vanity was in place and with the help of son-in-law and a helpful neighbor friend the ninety pound trough sink could be set in place so the stone counter could be set. Plumbing in the wall had been completed for the two faucets and we had a fully functioning sink again. We were only without a sink in this bathroom for two days.
The stone fabricator had picked up the soapstone slab, which we had stored for a couple of years in the garage after the kitchen counters had been finished, to be cut to fit the sink opening. Once the stone masons came and got the slab cut and returned to set and caulk it, we could plan for the tile.
Measurements from the surface of the stone, allowing for grout lines, began and the engineer put a ledger board around the walls to ensure that the tile lines would be consistent all the way around the two adjacent walls encompassing the tub.
We decided the wall that held the sink and two windows would be fully tiled since one of the windows was partially over the tub. We had taken both the windows out so they could be restored to proper working order. Which meant they had to be stripped of eighty plus years of paint and the lift systems had to be replaced to function again.
Once the windows were restored, I was concerned about having a wood window frame inside the shower area, which previously had only been a tub. I came up with the idea that we could frame out the windows with marble chair rail and a marble window sill. The niches were all marble and framed out similarly, so why not add the chair rail to the windows.
Naturally, this addition had to be considered before the backer board was installed, so the tile walls would be flush to the chair rail.
A word about the niches. We had decided that since the tub and shower were in one place, we would need a niche for the tub as well as for the shower. The engineer designed a vertical niche to accompany the bottles of shampoo, body wash, etc., and a horizontal niche for the occasional tub soak. To complete the experience he added a teak shelf that could be placed across the tub to hold a cup of tea or wine, and the niche would be an ideal spot for a scented candle.
The stone for the niches was selected long ago. I had found a beautiful marble rhomboid shaped tile, while it was a bit of a splurge, it was a relatively small area. The chair rail framed out the niches as well as the windows. However, the window framing was a late decision and we needed more. As luck would have it we found just enough to finish the project, as the chair rail was discontinued.
It turned out that the chair rail had to be epoxied to the walls, which turned out to be a multi-day project. Now that the niches and windows were installed the tile on the walls could begin. The engineer started from just above the tub at counter height and went up and onto the adjacent wall before finishing below the ledger board.
At this point, we were feeling like we could see the light at the end of the tunnel and we were just under a year into this project, and only had two walls finished. Albeit those two walls were heavy with plumbing and electrical stuff, and all that tile. Those two walls held three of the four essential components of a full bathroom.
Next: Preparing the toilet room and stenciling


