

We are fortunate when we can enjoy a combination of positive effects on several of our senses at the same time. In the world of design, our senses of sight and touch offer pleasures, but our sense of smell is a likely third; it is oh so satisfying when flowers and greenery produce color, scent and texture all at once.
Bringing the outdoors in is a goal for most of us living in a temperate climate. While I am not a landscaper, I do know what I love to see and smell and Salvia Clevelandi, Winifred Gilman is a favorite for my eyes. I love it in the garden near an open window or door, so I can take in its lovely scent whenever a breeze comes up.
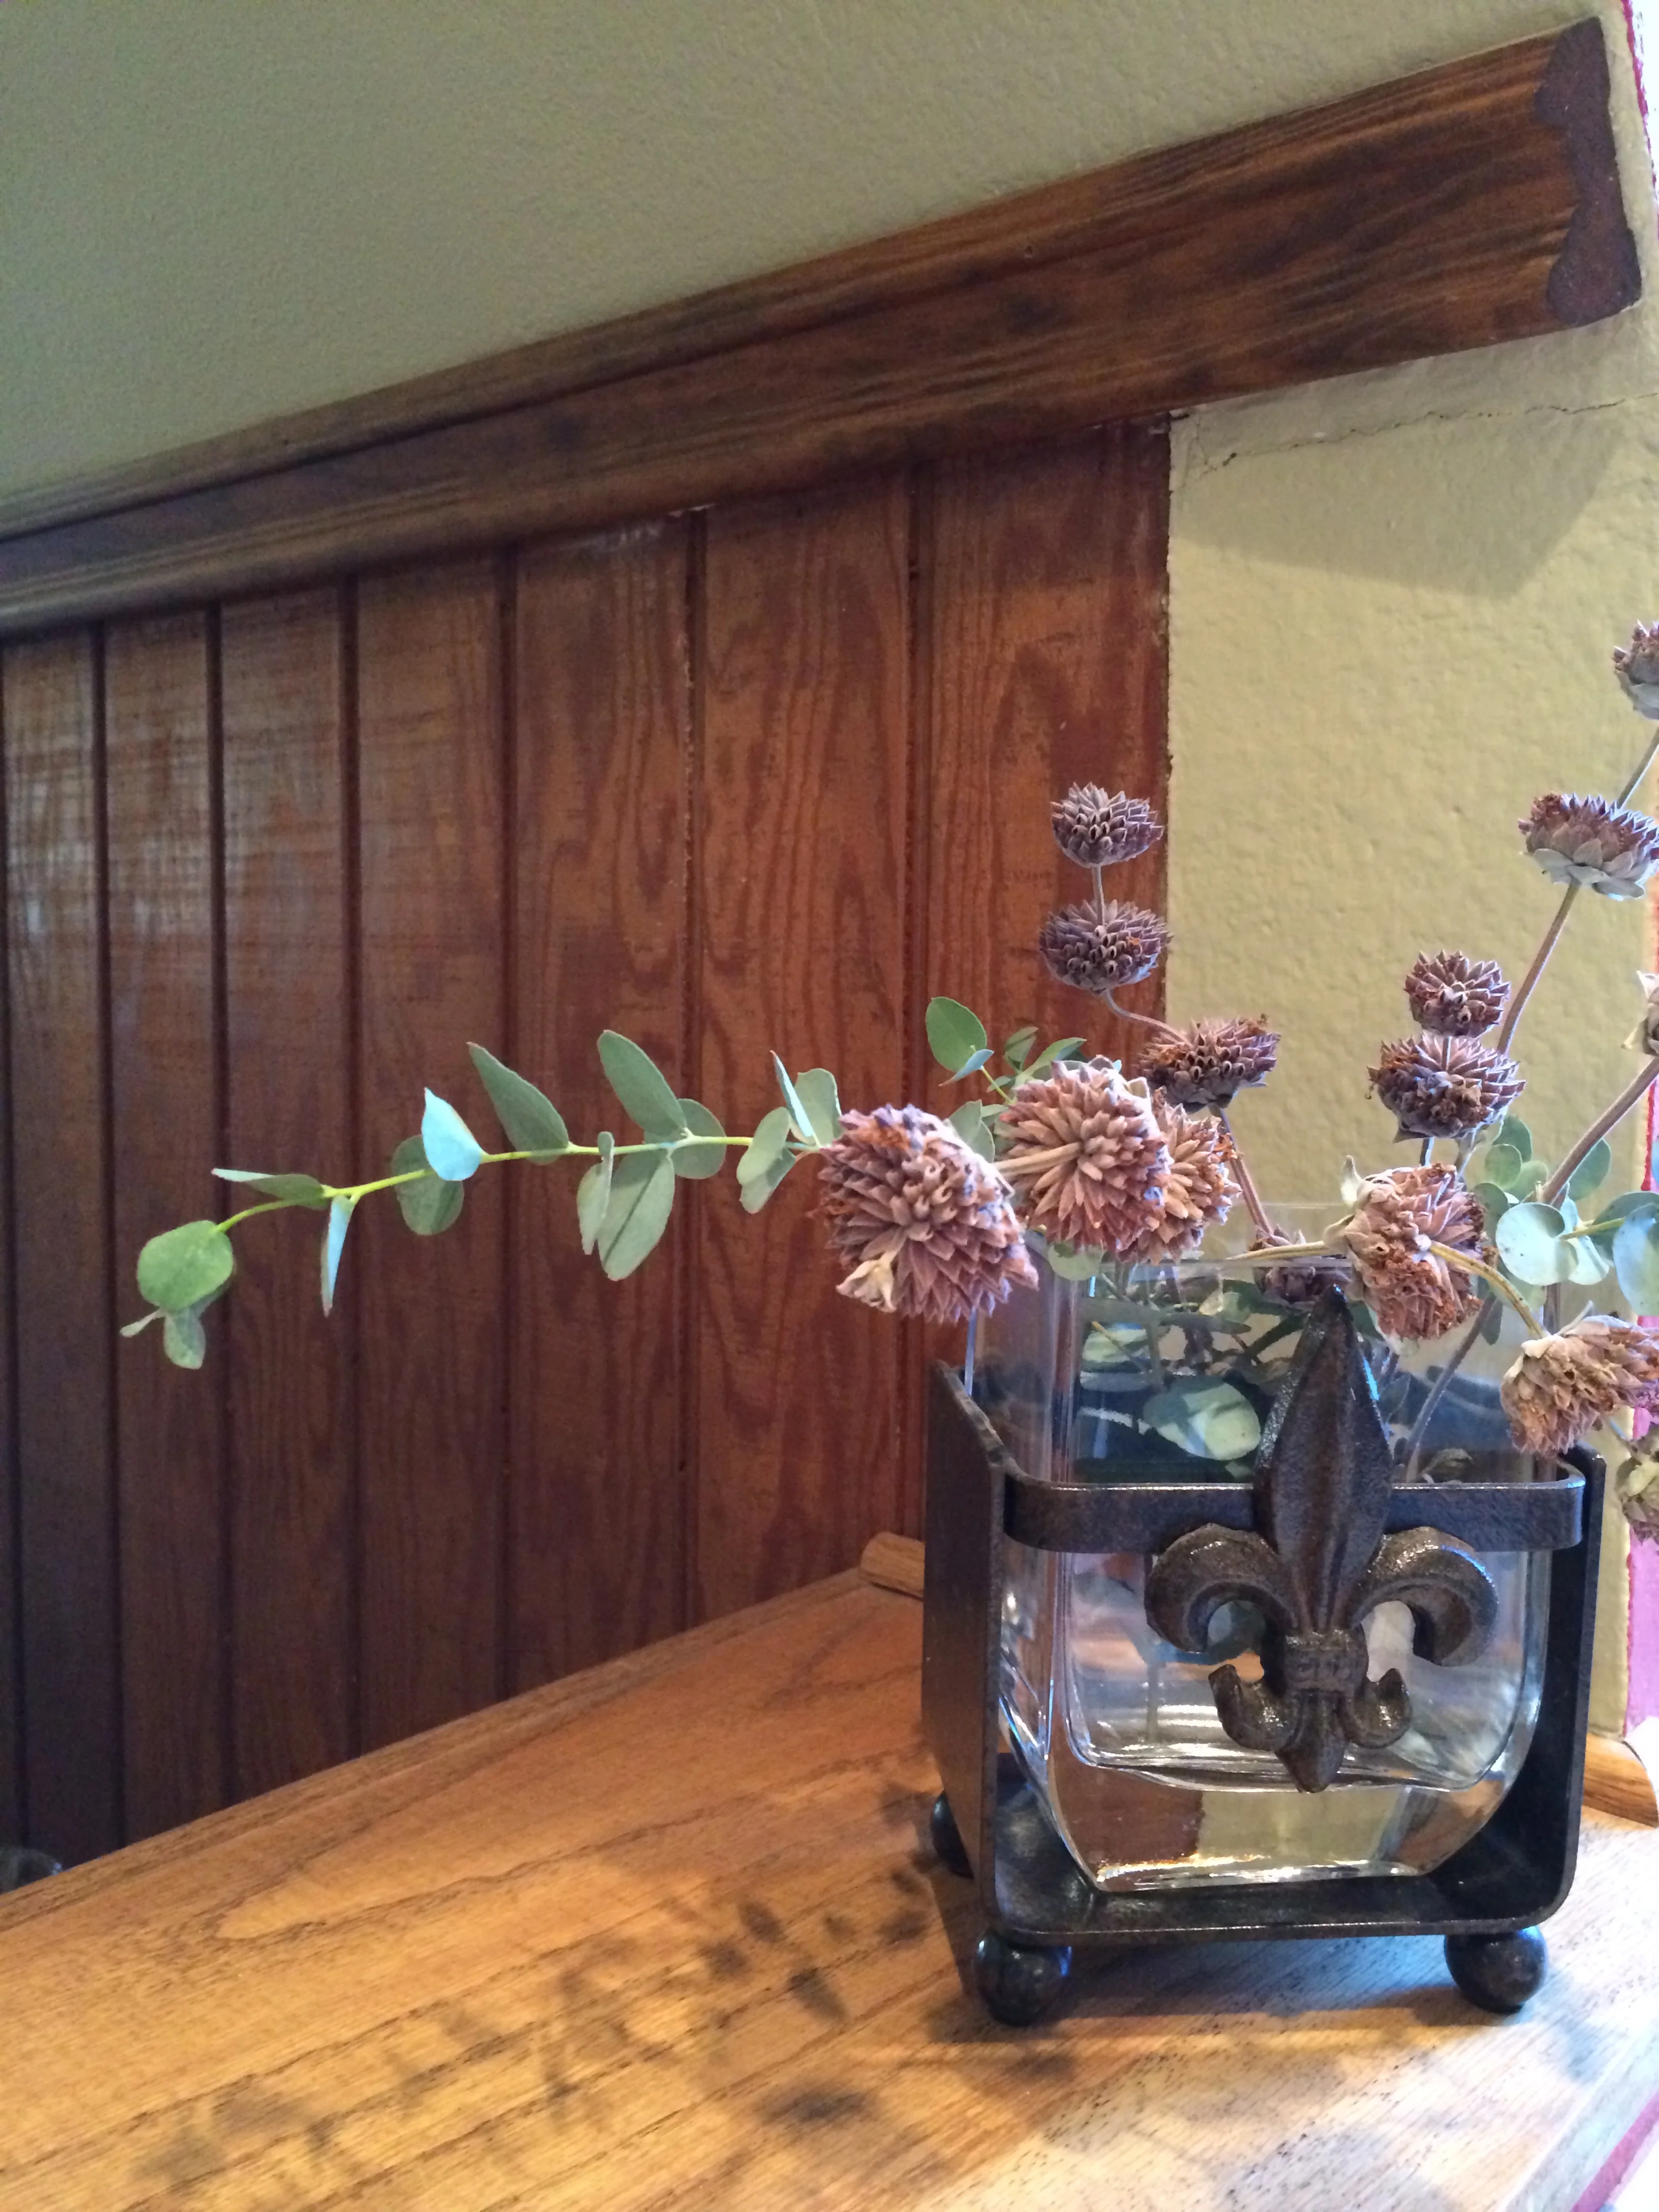
I like to make good use of plants in decor by using the real thing, whenever possible. Even dried plants can give off a pleasant fragrance in dried arrangements, or tied in a bundle and hung in a closet or shower. I like to use eucalyptus branches in these areas as well, especially hung in a shower; the steamy atmosphere helps bring their sweet, fresh scent into the surrounding areas-- for me, truly heaven sent.
Even a particularly lovely piece of furniture that needs protection from water spillage can be enhanced with a dry arrangement of local native or succulents as a centerpiece. One should never water a succulent on a table top; it should always be watered sparingly and on a surface that can be easily wiped up. Once the water has settled in the container, there is no danger of leaching moisture onto the surface of the furniture. An arrangement can sit for quite a long time, and infrequent watering will make a happy situation for both plant and table top.
Lavender is another favorite, both in the garden and in the house. These plants do well in our dry climate and are a favorite to dry and use as a sachet for drawers. Let me mention rosemary as well, which adds another sense, the sense of taste. Rosemary’s flavor adds to many savory dishes. Growing theses plants makes it easy enough to snip off small branches to bring into the house frequently, to add to an arrangement of roses or to use all by themselves.
One of the great characteristics of these plants is their structure. They offer so many opportunities to display them creatively. They look lovely against a plain wall, or one enjoy the shadows they cast in the evenings. In addition, they bring fragrance to the room and the soul. With their color, scent, texture and taste, they have the makings of a long lasting and beautiful arrangement.


Make a Eucalyptus Tree for the Winter Season
Every year, I see so many clever and creative Christmas decor ideas that embrace traditional styles as well as traditional with a twist. While I love new ideas in the world of decor, I am traditional at heart. Here is a tutorial on a completely original design I created more than 30 years ago: a lighted tree with natural eucalyptus leaves, and topped with your favorite tiny tree topper.
While this is on the easy, it is tough on your fingers, so you may want to use a thimble.
You will need:

Styrofoam cone (white or green)
Short string of 25-50 small electric lights (white or green wires)
Hair pins, not bobbie pins ( find them in beauty supply shops)
Eucalyptus branches
Thimble
Scissors or garden clippers
Small beads, either multi-colored, red or white or natural seeds from your garden
Tree topper, a small bird, angel, bow, or star, whatever you wish.


First, open your short (25) string of lights and begin winding at the bottom of the cone, securing them with the hair pins. Continue winding them fairly close together until you reach the top of your cone, leaving one light near the top of your tree. You should have a length of cord at the bottom to plug into an electric outlet when you are finished. It is always a good idea to test the string of lights to make sure they are in working order.
Once your lights are secure, begin cutting (using garden clippers or strong scissors) the eucalyptus branches into short stems; I use the two leaves on opposite sides of the stem securing the stem by pushing a hairpin into the cone. You can use a glue gun instead of hair pins. Use the larger leaves on the bottom of the cone and gradually smaller ones the smaller ones as you go up the cone to the top of your tree.
This is a fairly long process, and this is where you may want to have a thimble to help push the pins into the cone. As you get near the top of the cone, the pins will be too long to go straight in, so angle them downward, so they don’t stick out of the sides of the cone. You will soon see how the leaves fit around the lights, covering the cords and filling in the cone. You will want the leaves to be close together for a full look.
Once you are satisfied with the density of the tree, you may begin using your beads, pods or tiny decorations to adorn the tree; this is a very subjective process, so place them as you wish, again using the hairpins.
Your tree topper is the last piece to add, so use your hairpin to secure it. Find a table top, or corner for your lighted creation and enjoy the fruits of your labor and the season.
This tree creation can be a winter fixture, by using natural seeds or just white beads, or red, like you see in nature. I keep mine up through January, or throughout winter to brighten the gloomy days of winter.