Kitchen renovations are always about compromise. We decided to keep somethings that were here when we took up residence, although they are not original to the 1938 design of the house. While we made some big changes, none of the fixtures moved except the dishwasher.

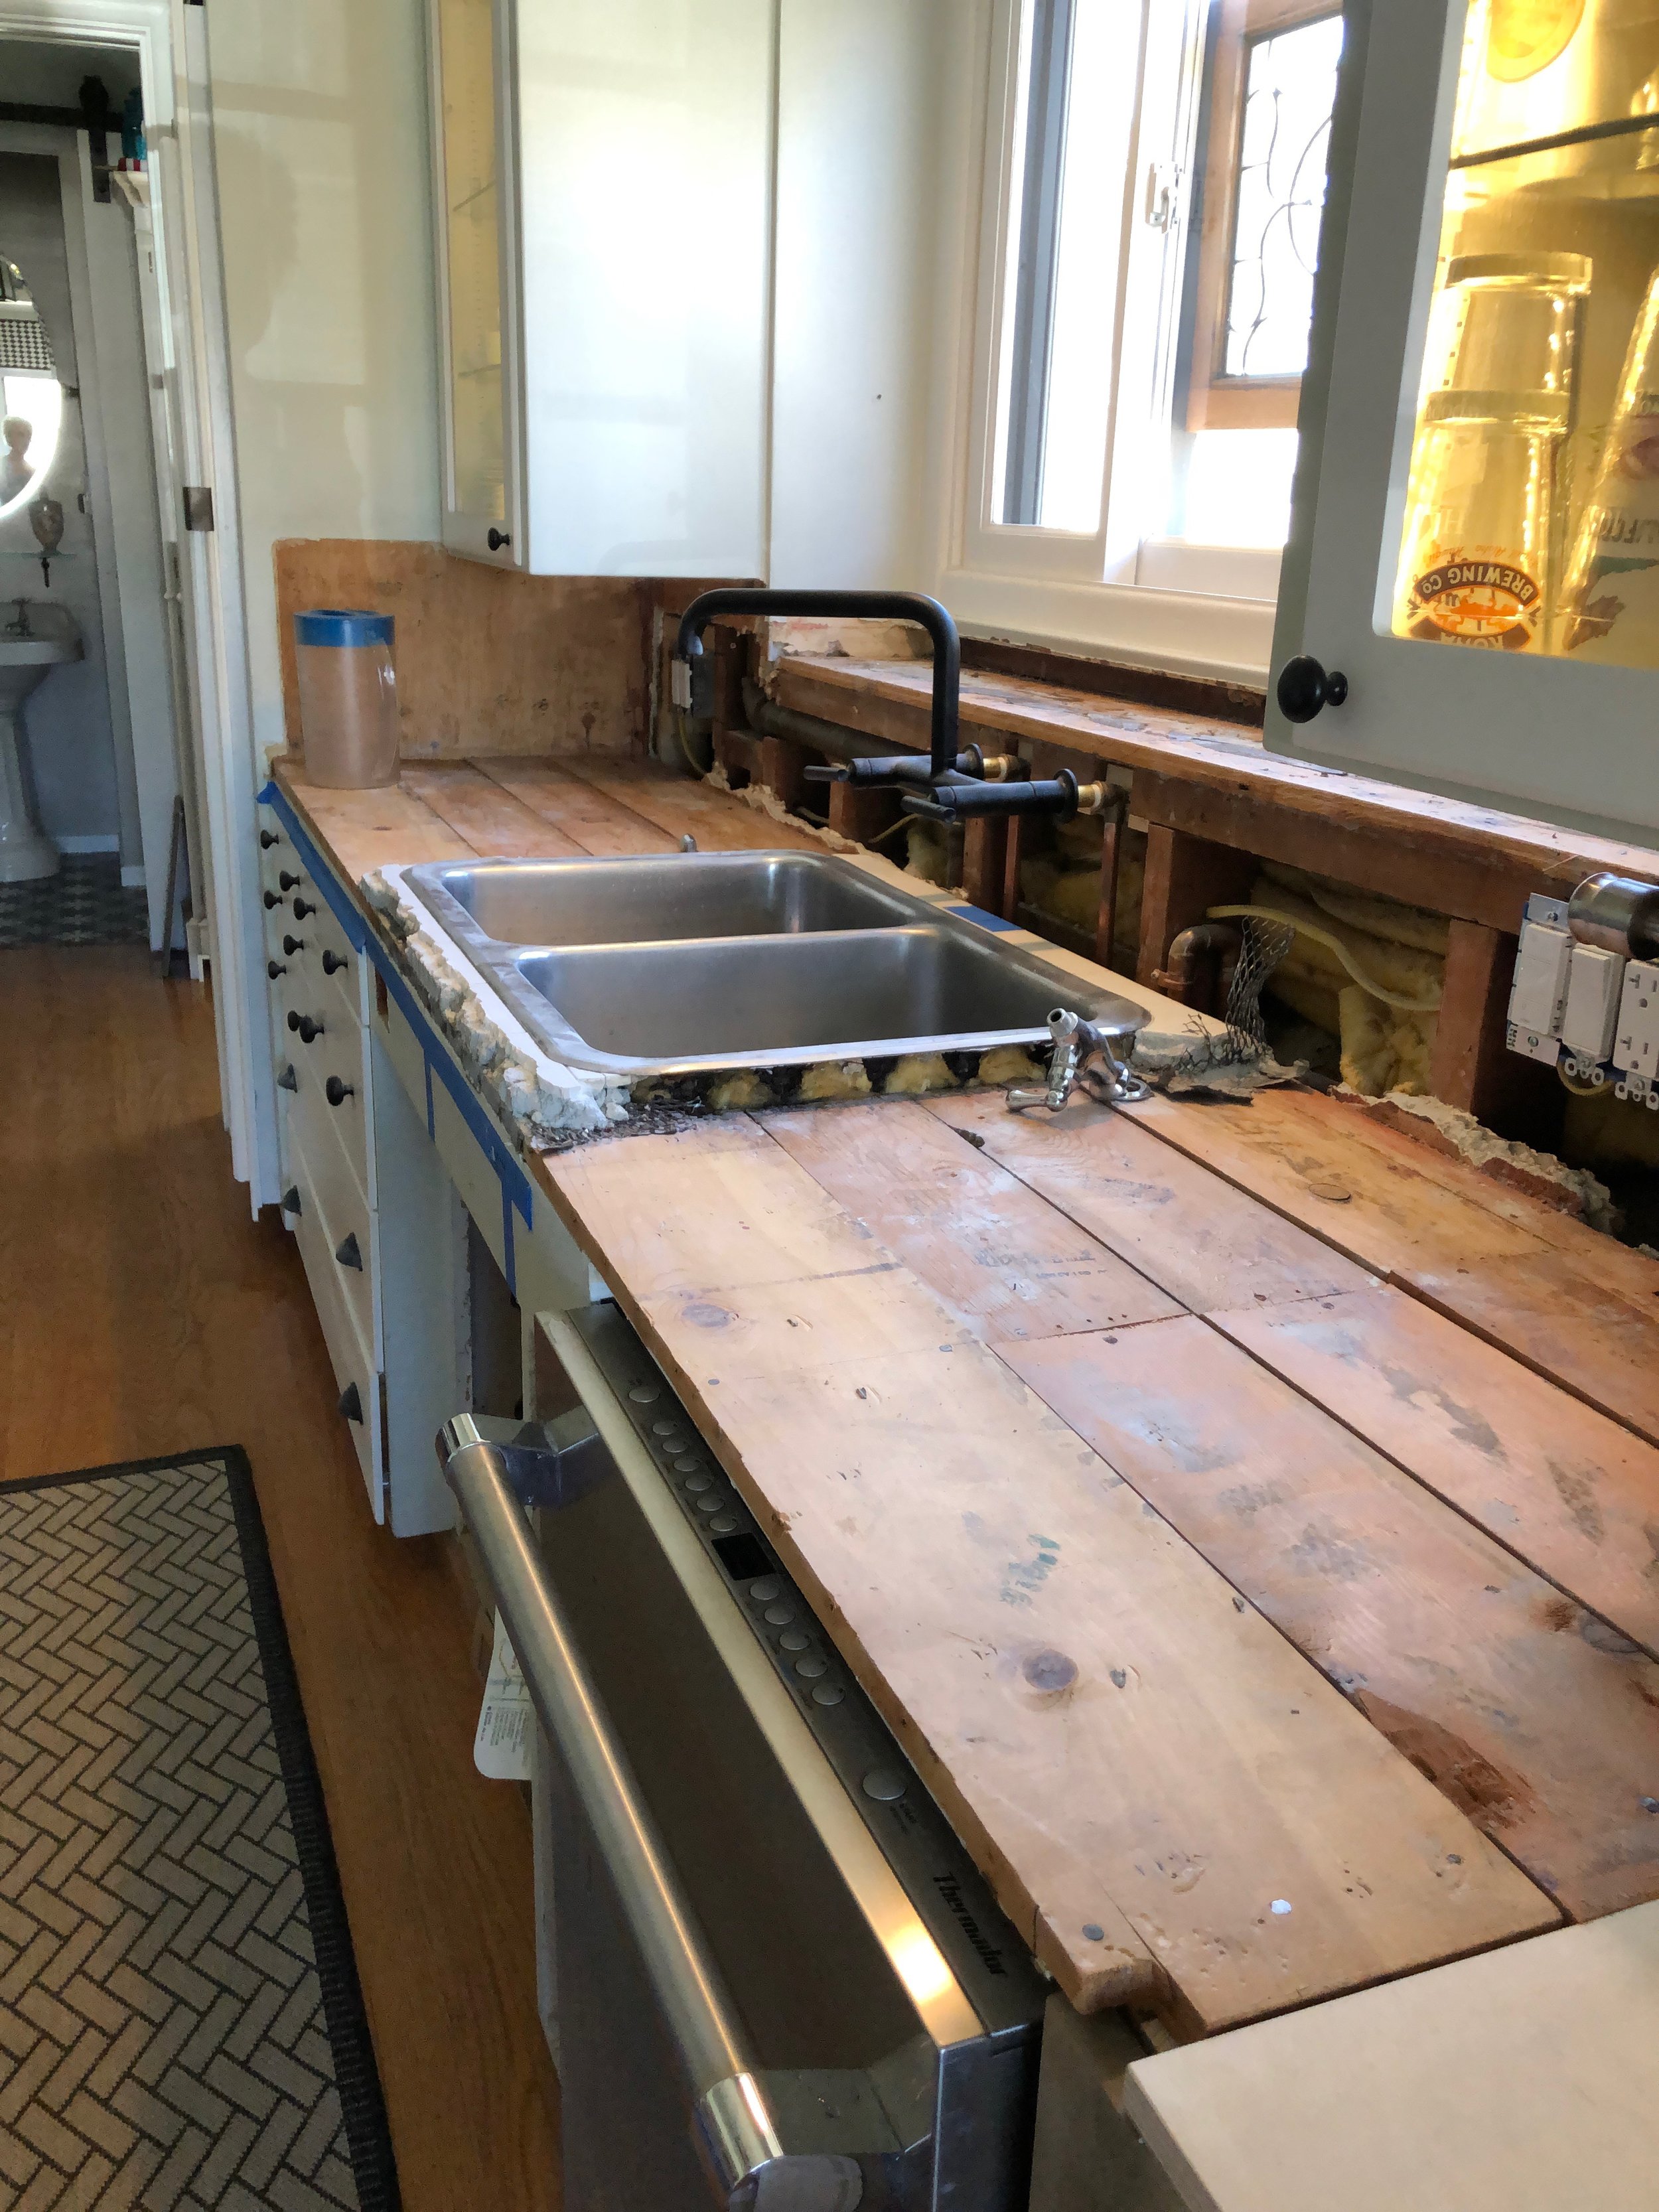
When I last wrote, it was July and my handy husband was removing the old tile countertop and backsplash set in an inch of concrete and a stiff wire mesh. It. Was. A. Mess. Not to mention time consuming and hard on his shoulders. You might think that once the tile was up the countertops could go down. But, in the real world it does not work quite that easily.

There is electrical work to do to bring the formerly remodeled kitchen from, I’m guessing, the 1960s into the 21st century. New electrical outlets, some with electronic charging capabilities. Walls were opened for additional outlets to supply a coffee maker and coffee grinder, along with a spare or two for good measure. All appliances get their own circuit which eliminates breakers kicking off in the middle of a task.

Once the electrical was compete, and that means pushing and pulling what seemed like thousands of wires through tiny openings, above ground and under the house, my husband moved onto building a new cabinet to contain the trash and recycling. This cabinet would serve as a base to an additional two feet of new counter space. My very handy husband built the cabinet to match the existing cabinetry that we chose to keep; while he was in the carpentry mood he made new doors for the cabinet under the sink as well.

Next came the plumbing, new faucet and high loop for the dishwasher drain line, and moving the garbage disposal drain pipe, that changed position for the new sink. All of the above work took us through August. Someone asked how retirement was coming along. We answered, working every day and weekends, just like before, but on a fixed income! All true, but not as bleak as it sounds. These are projects “we” like to do, keeping in mind who is doing most of the labor, I’m the idea person, with a side of clean up and help where needed part. The hero in this story is the engineer!
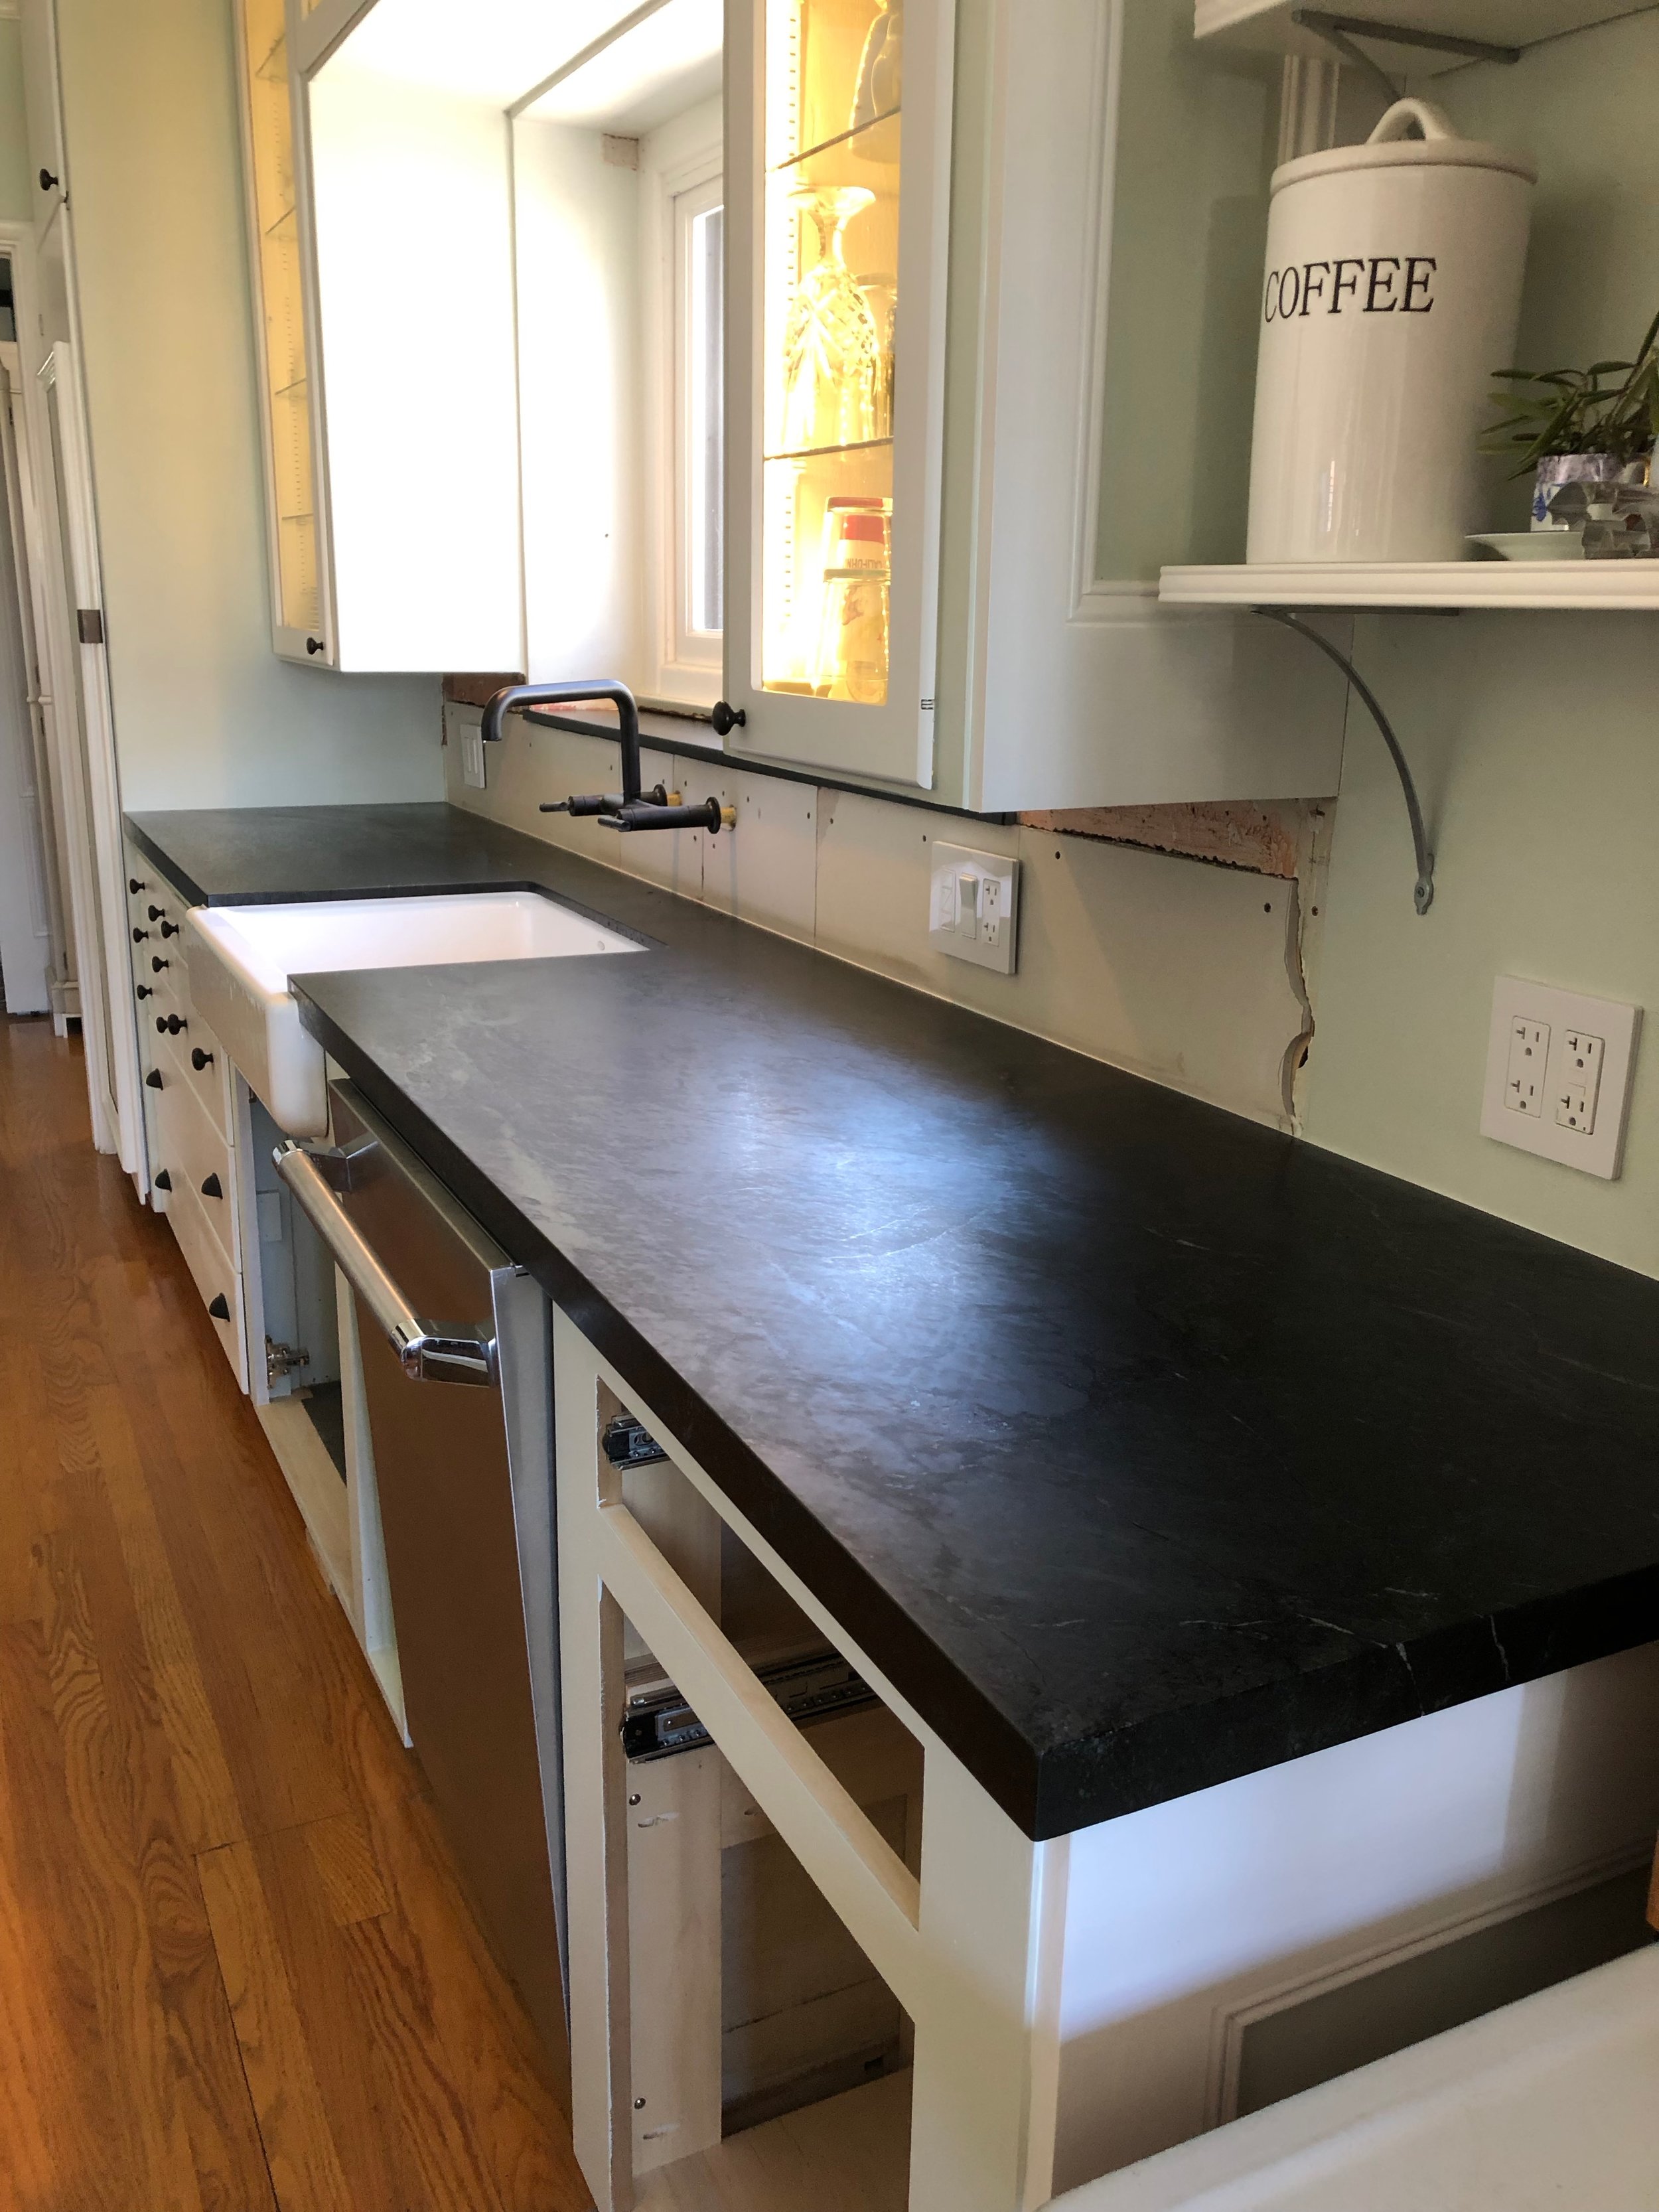
I was thrilled to have a new sink and faucet working before the countertop was set. We purchased a soapstone slab and had a fabricator measure for us and get onto his schedule, while I painted the new cabinetry. The slab was installed a week earlier than expected, but none too soon for us, we were ready.
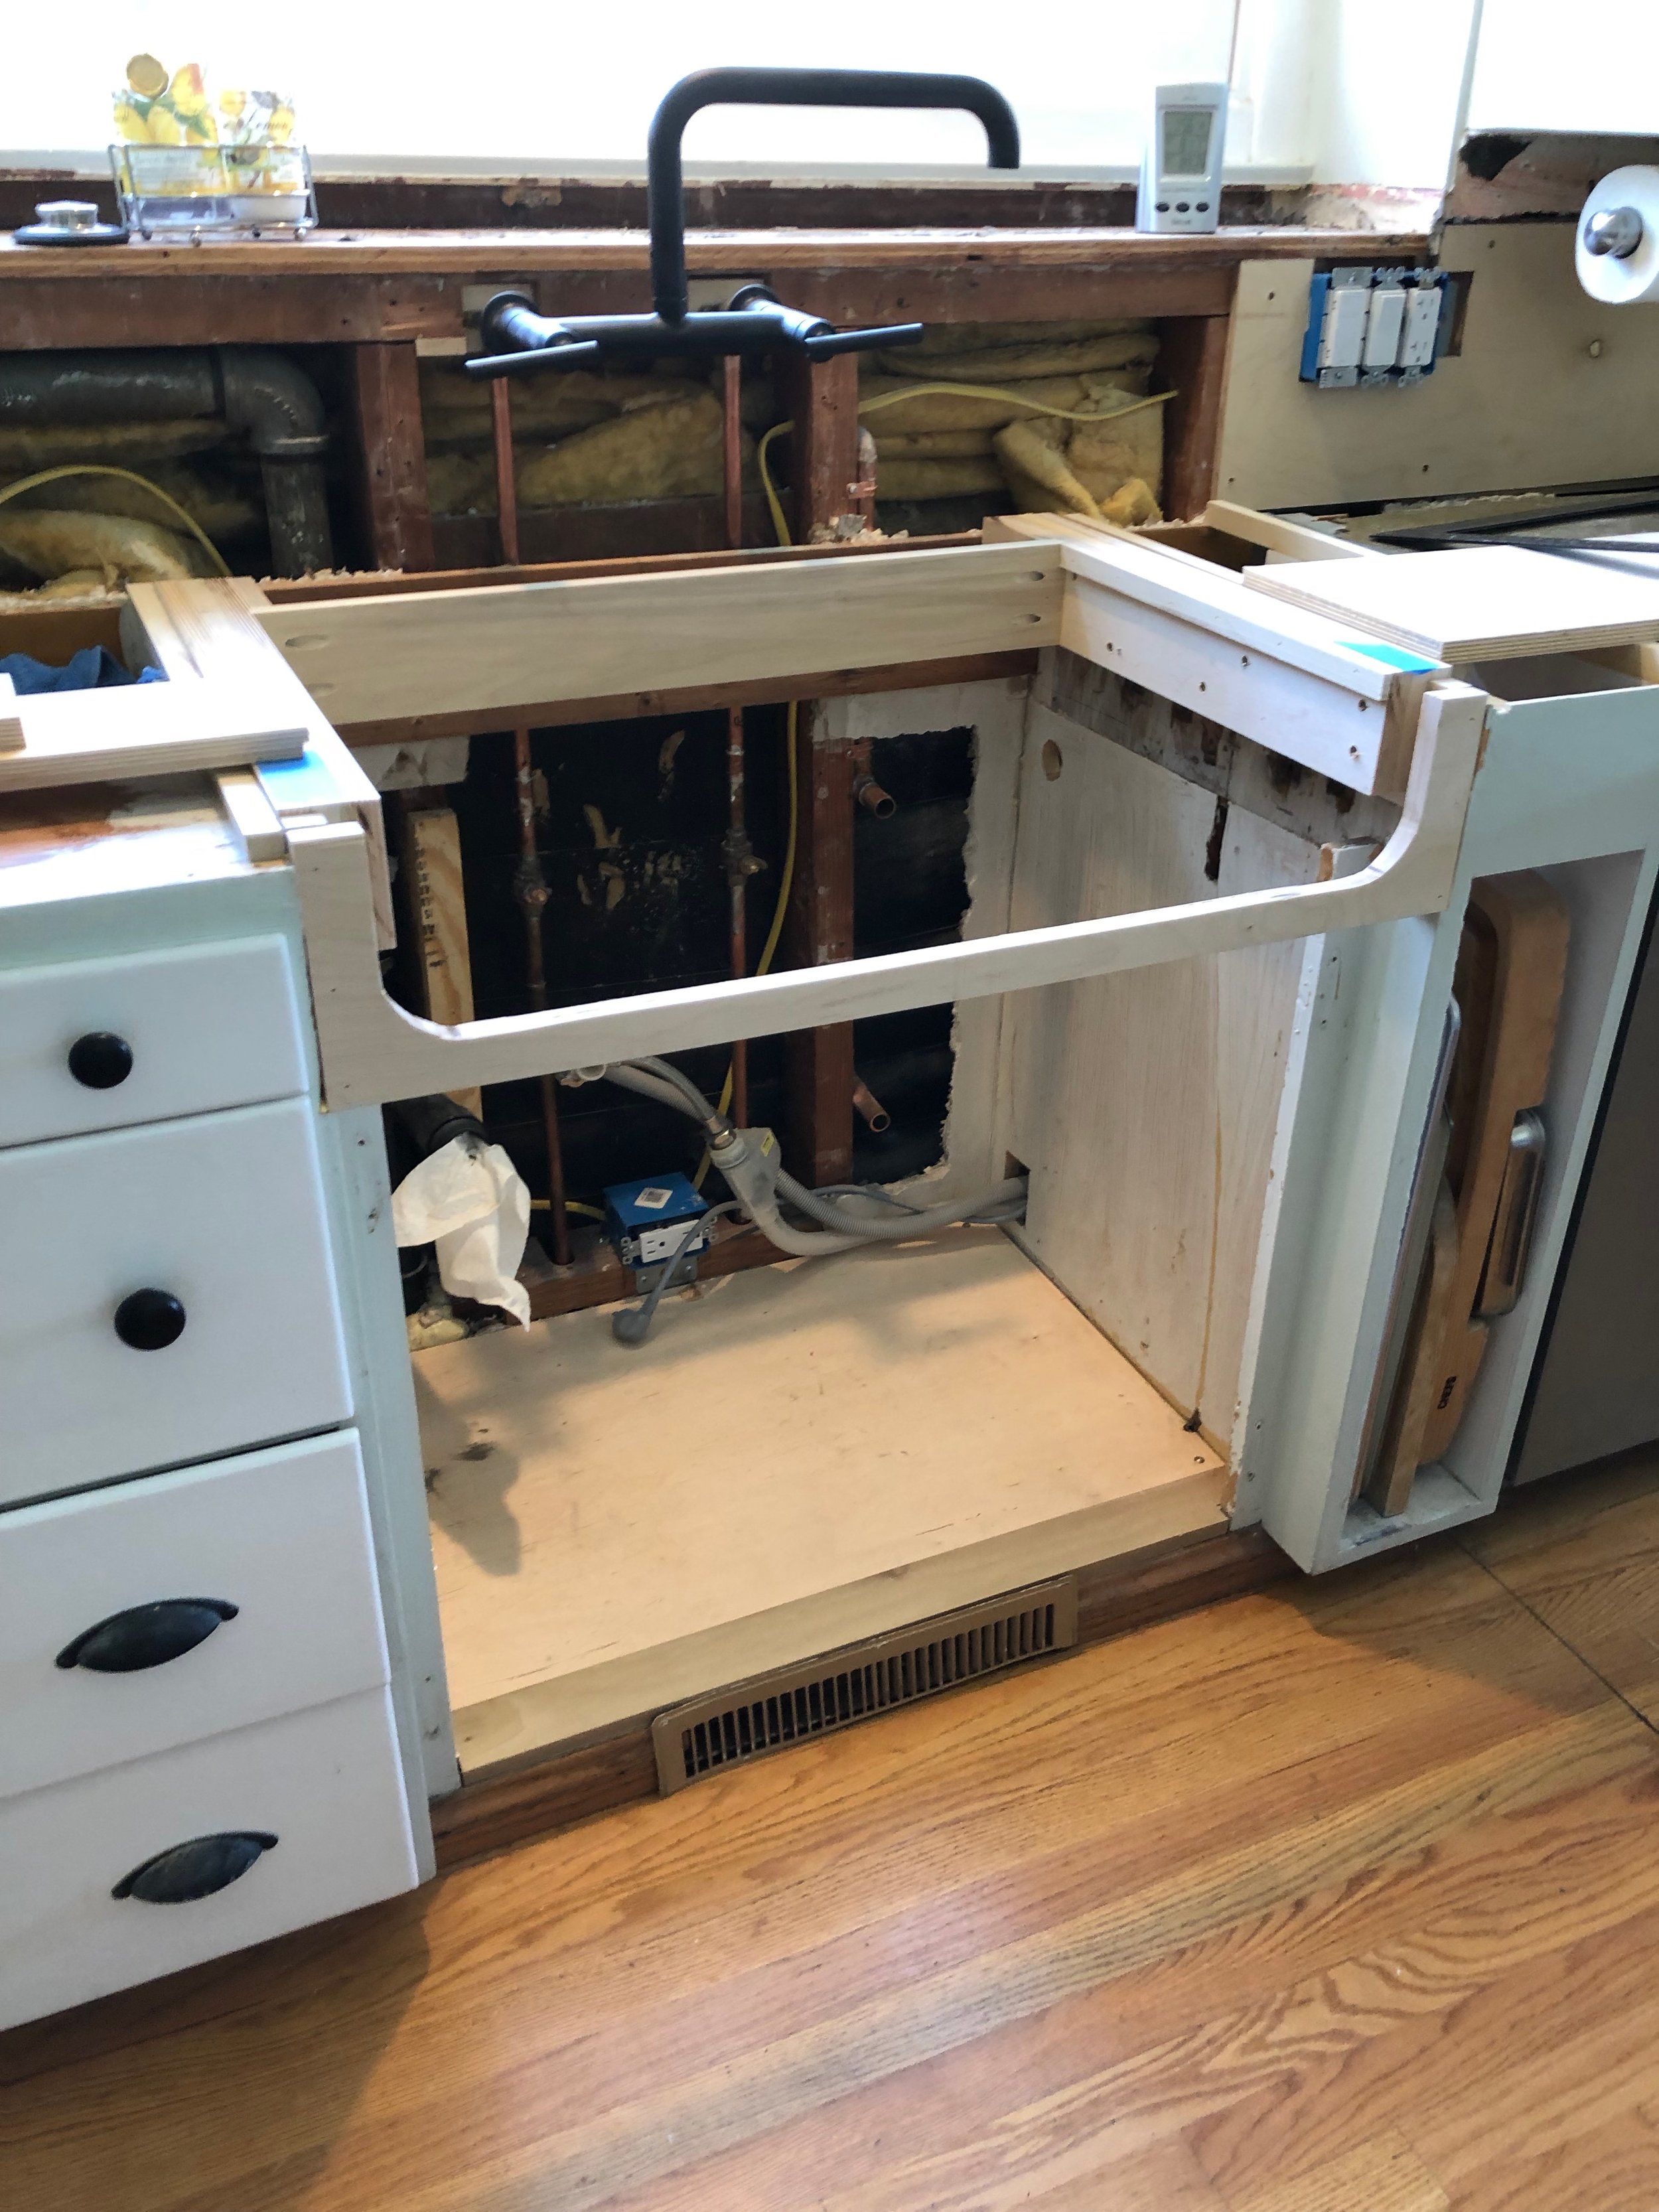
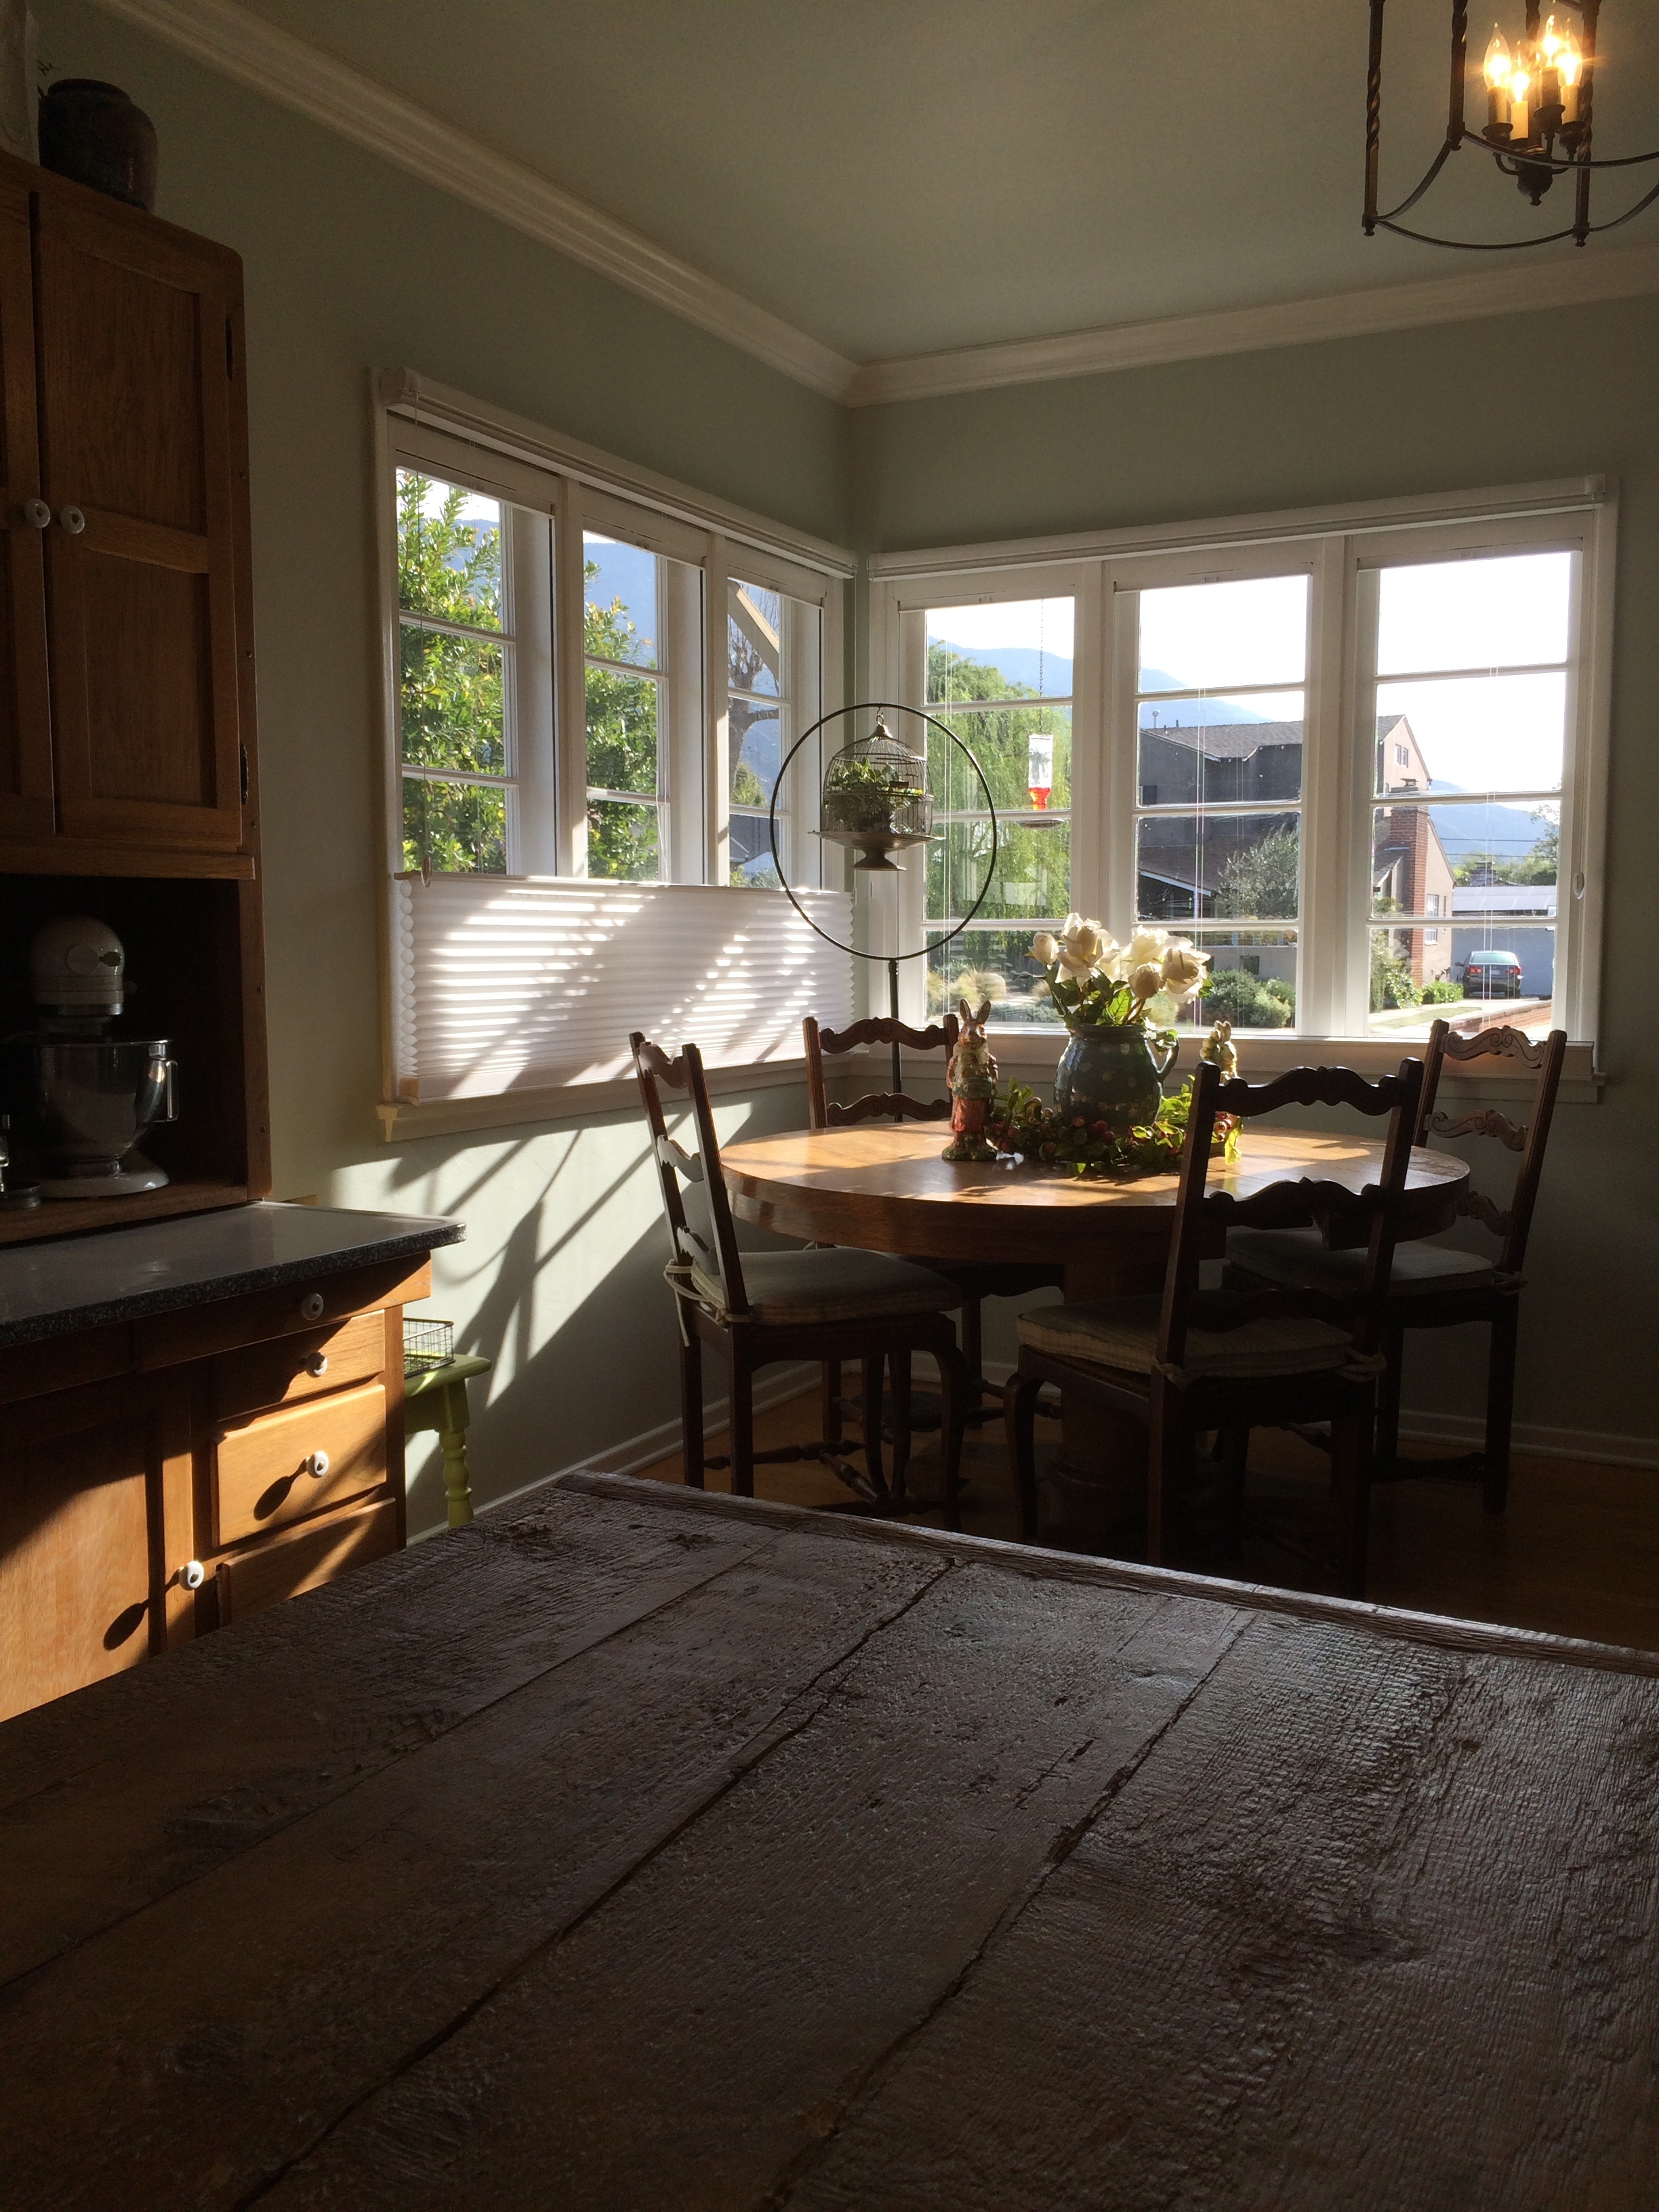
We did take a little time for celebrating birthday’s and our anniversary, before the tiling of the backsplash began. Now it is finished and we are so pleased. I love that I have my trusty Hoosier Cabinet dedicated to baking and cereal storage only, a place for the coffee maker and more counter space than this kitchen has every had. A bonus, is that “we” extended the floor under the sink to be flush with the existing cabinetry, giving us about three more inches in depth. With this my handy husband built a pull out shelf to contain the under sink necessities, now easily accessible.

I think my husband is going to move to working on the Model A again, to give his brain something else to think about, and different muscles to get sore.