The Art Deco style originated in Paris before World War I, but didn’t make it to our shores until the 1920’s through the 1930’s. It was the ultimate in the modern aesthetic and was the symbol of luxury and fine craftsmanship. While Art Deco was predominantly used for office buildings, most notably the Empire State Building and Chrysler Buildings, our Los Angeles Union Station is a fine example of the style.
Residential homes sported furniture pieces and small kitchen appliances, but by the end of the 1930’s and the advent of World War II, the Art Deco style was dimming.
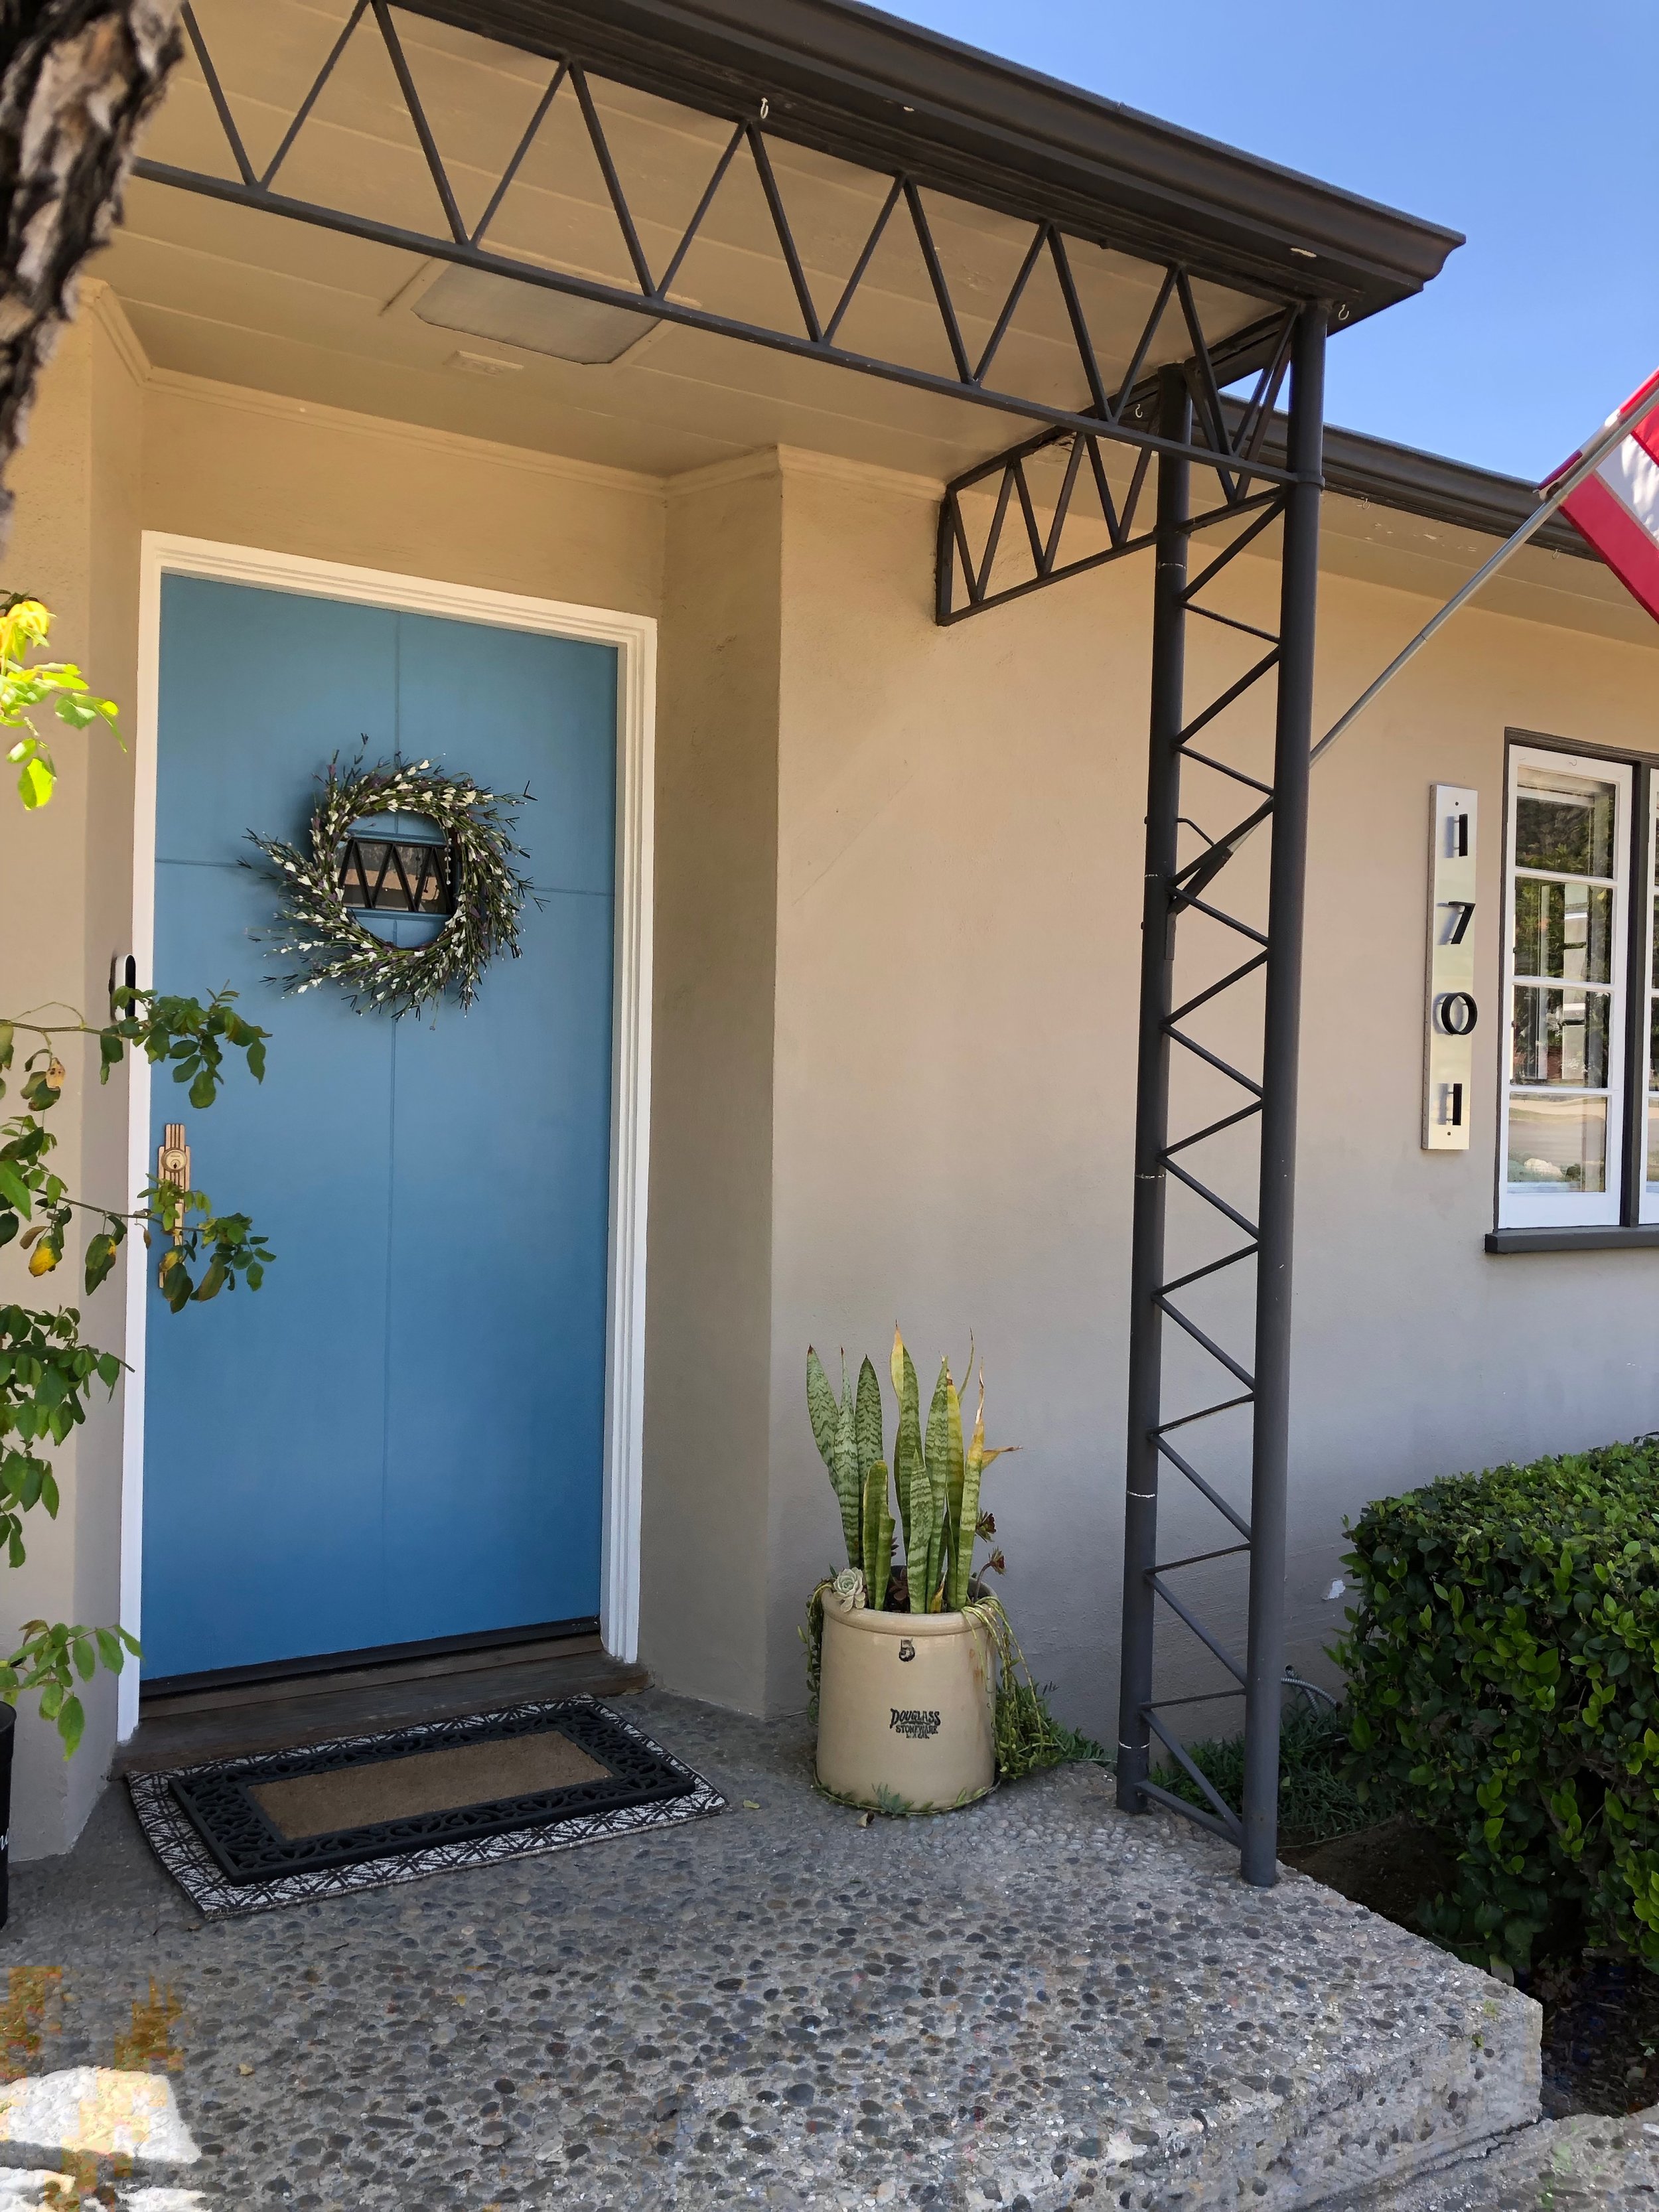
In our 1938 home, the bathtub, and the front door handle set were distinctive of the Art Deco style. Our house was built in the Modern Traditional style, interior corners are rounded, but the exterior is fairly plain without any curves, geometric details adorn the front porch.
As a prelude to entering our primary bathroom, I moved a 1933 Sunset Cover poster that we framed about 50 years ago. I always loved the print, and it finally had a proper place.


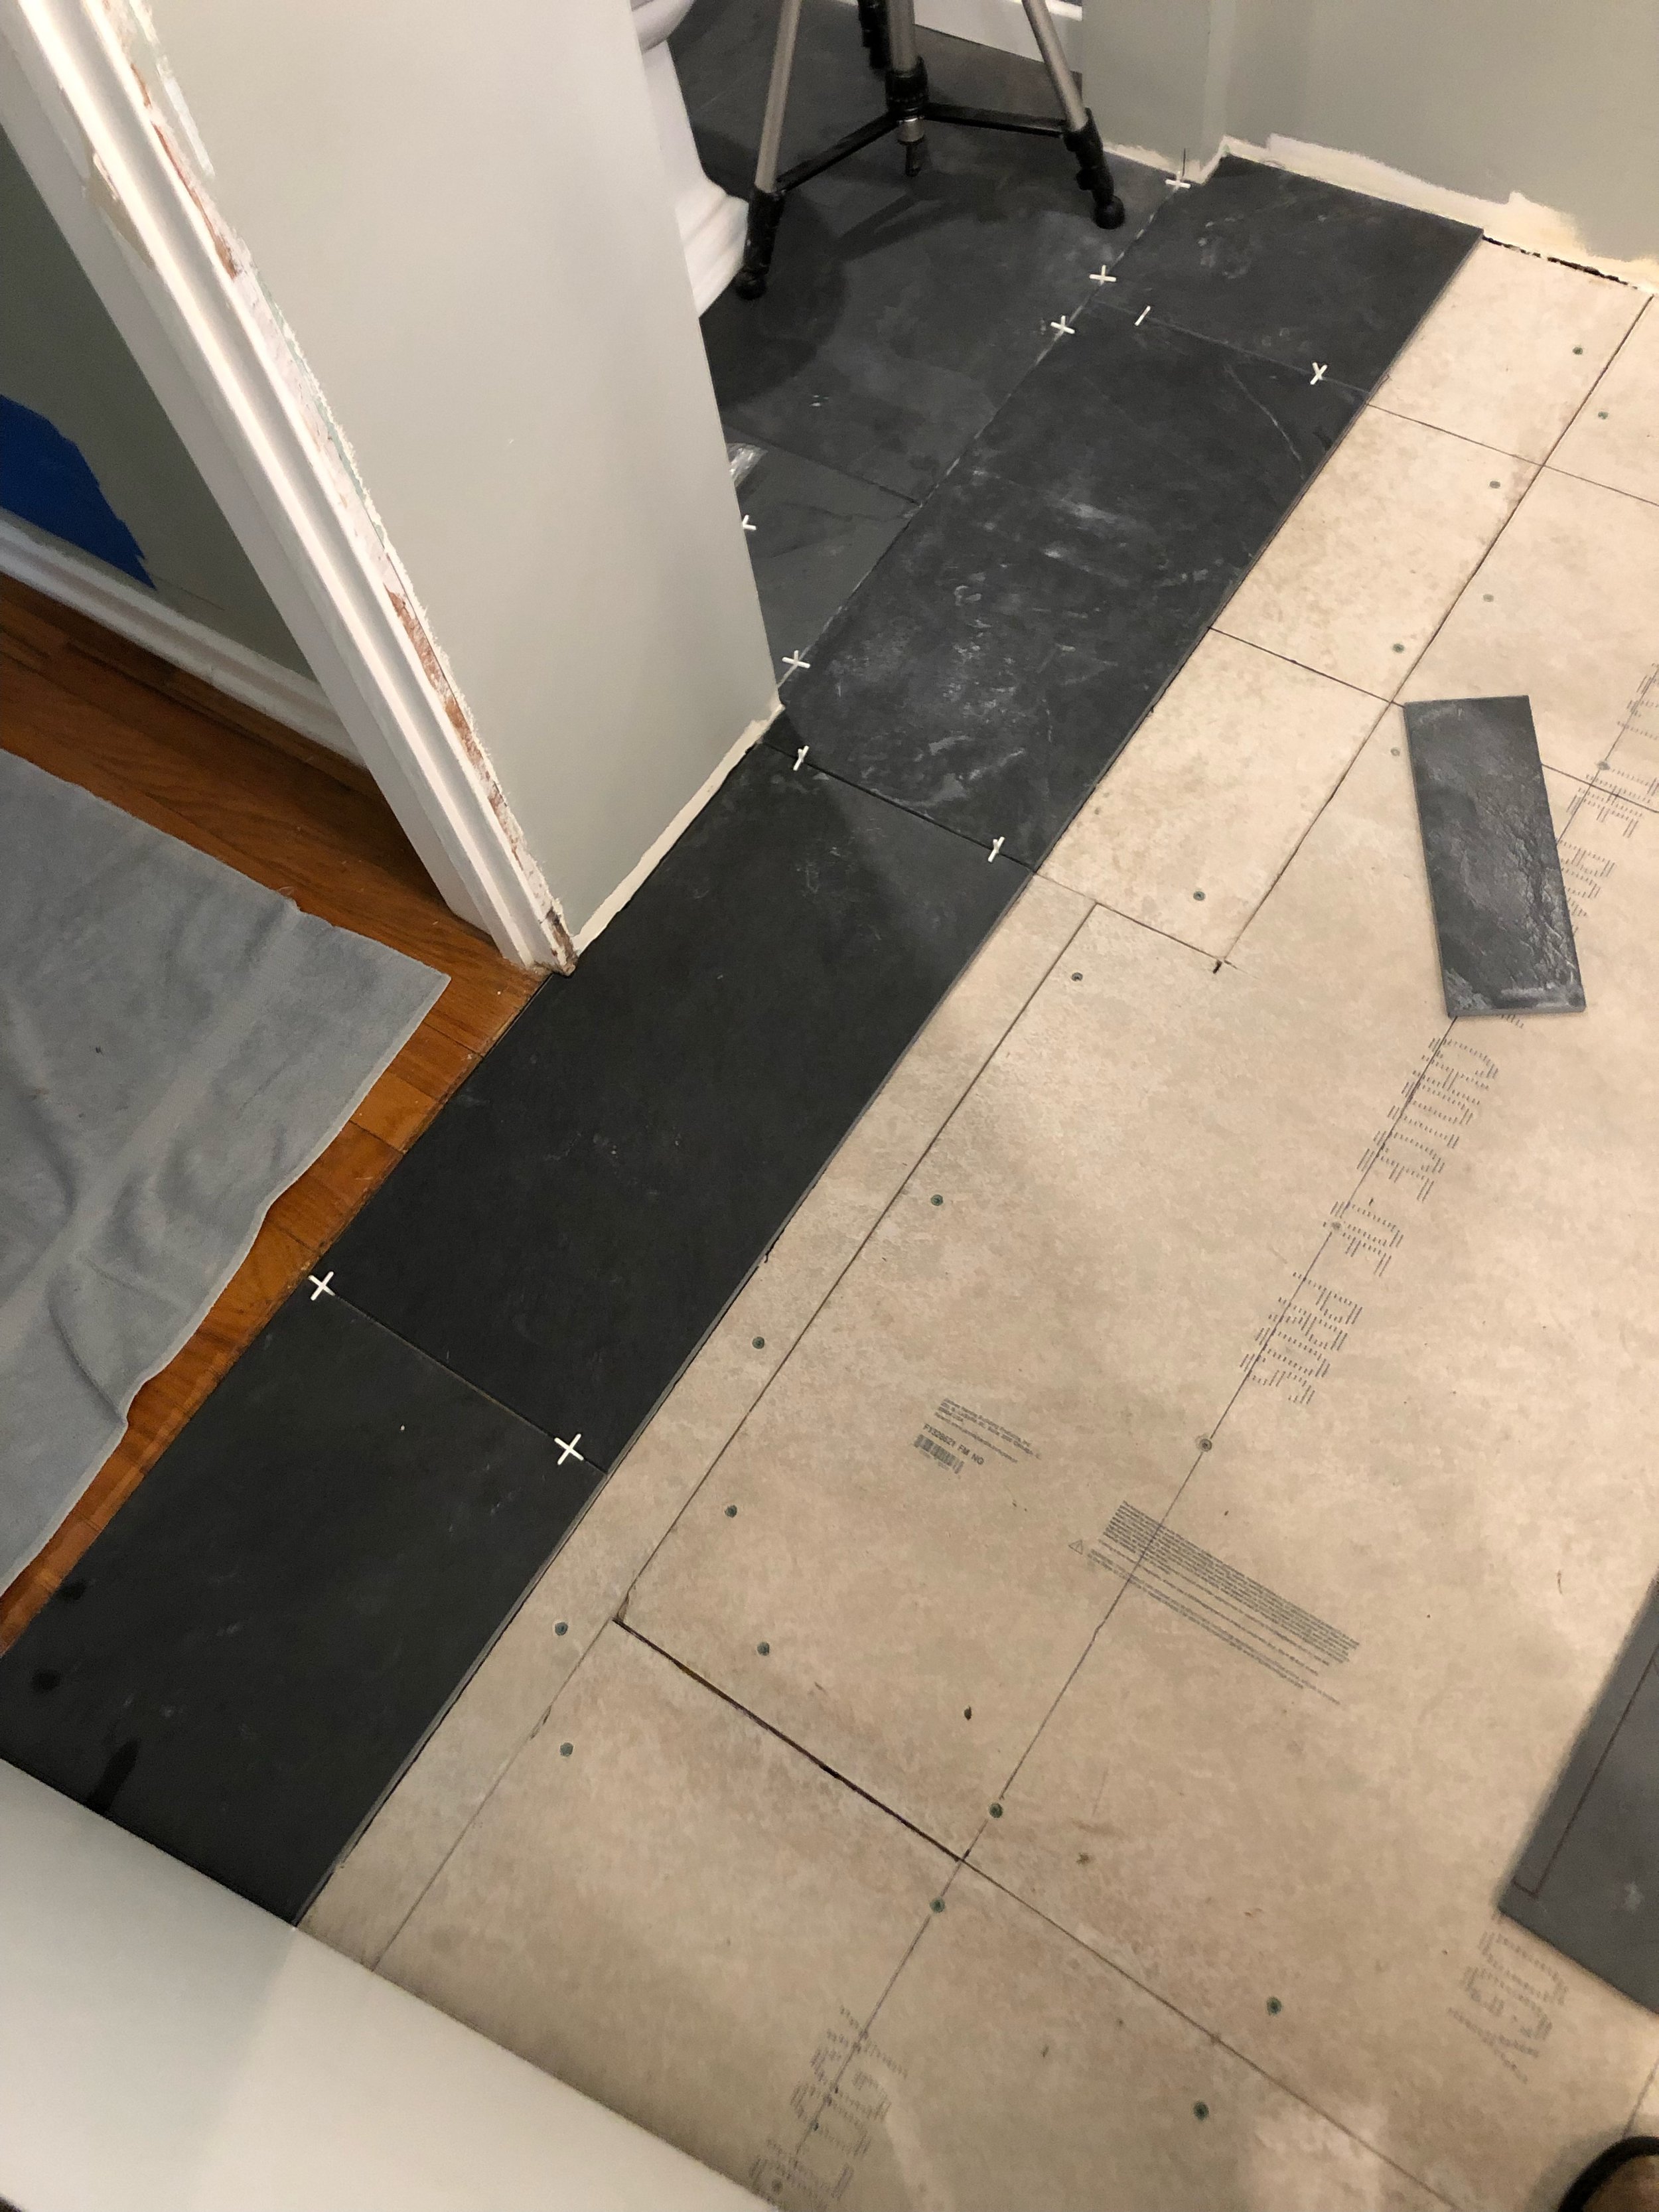
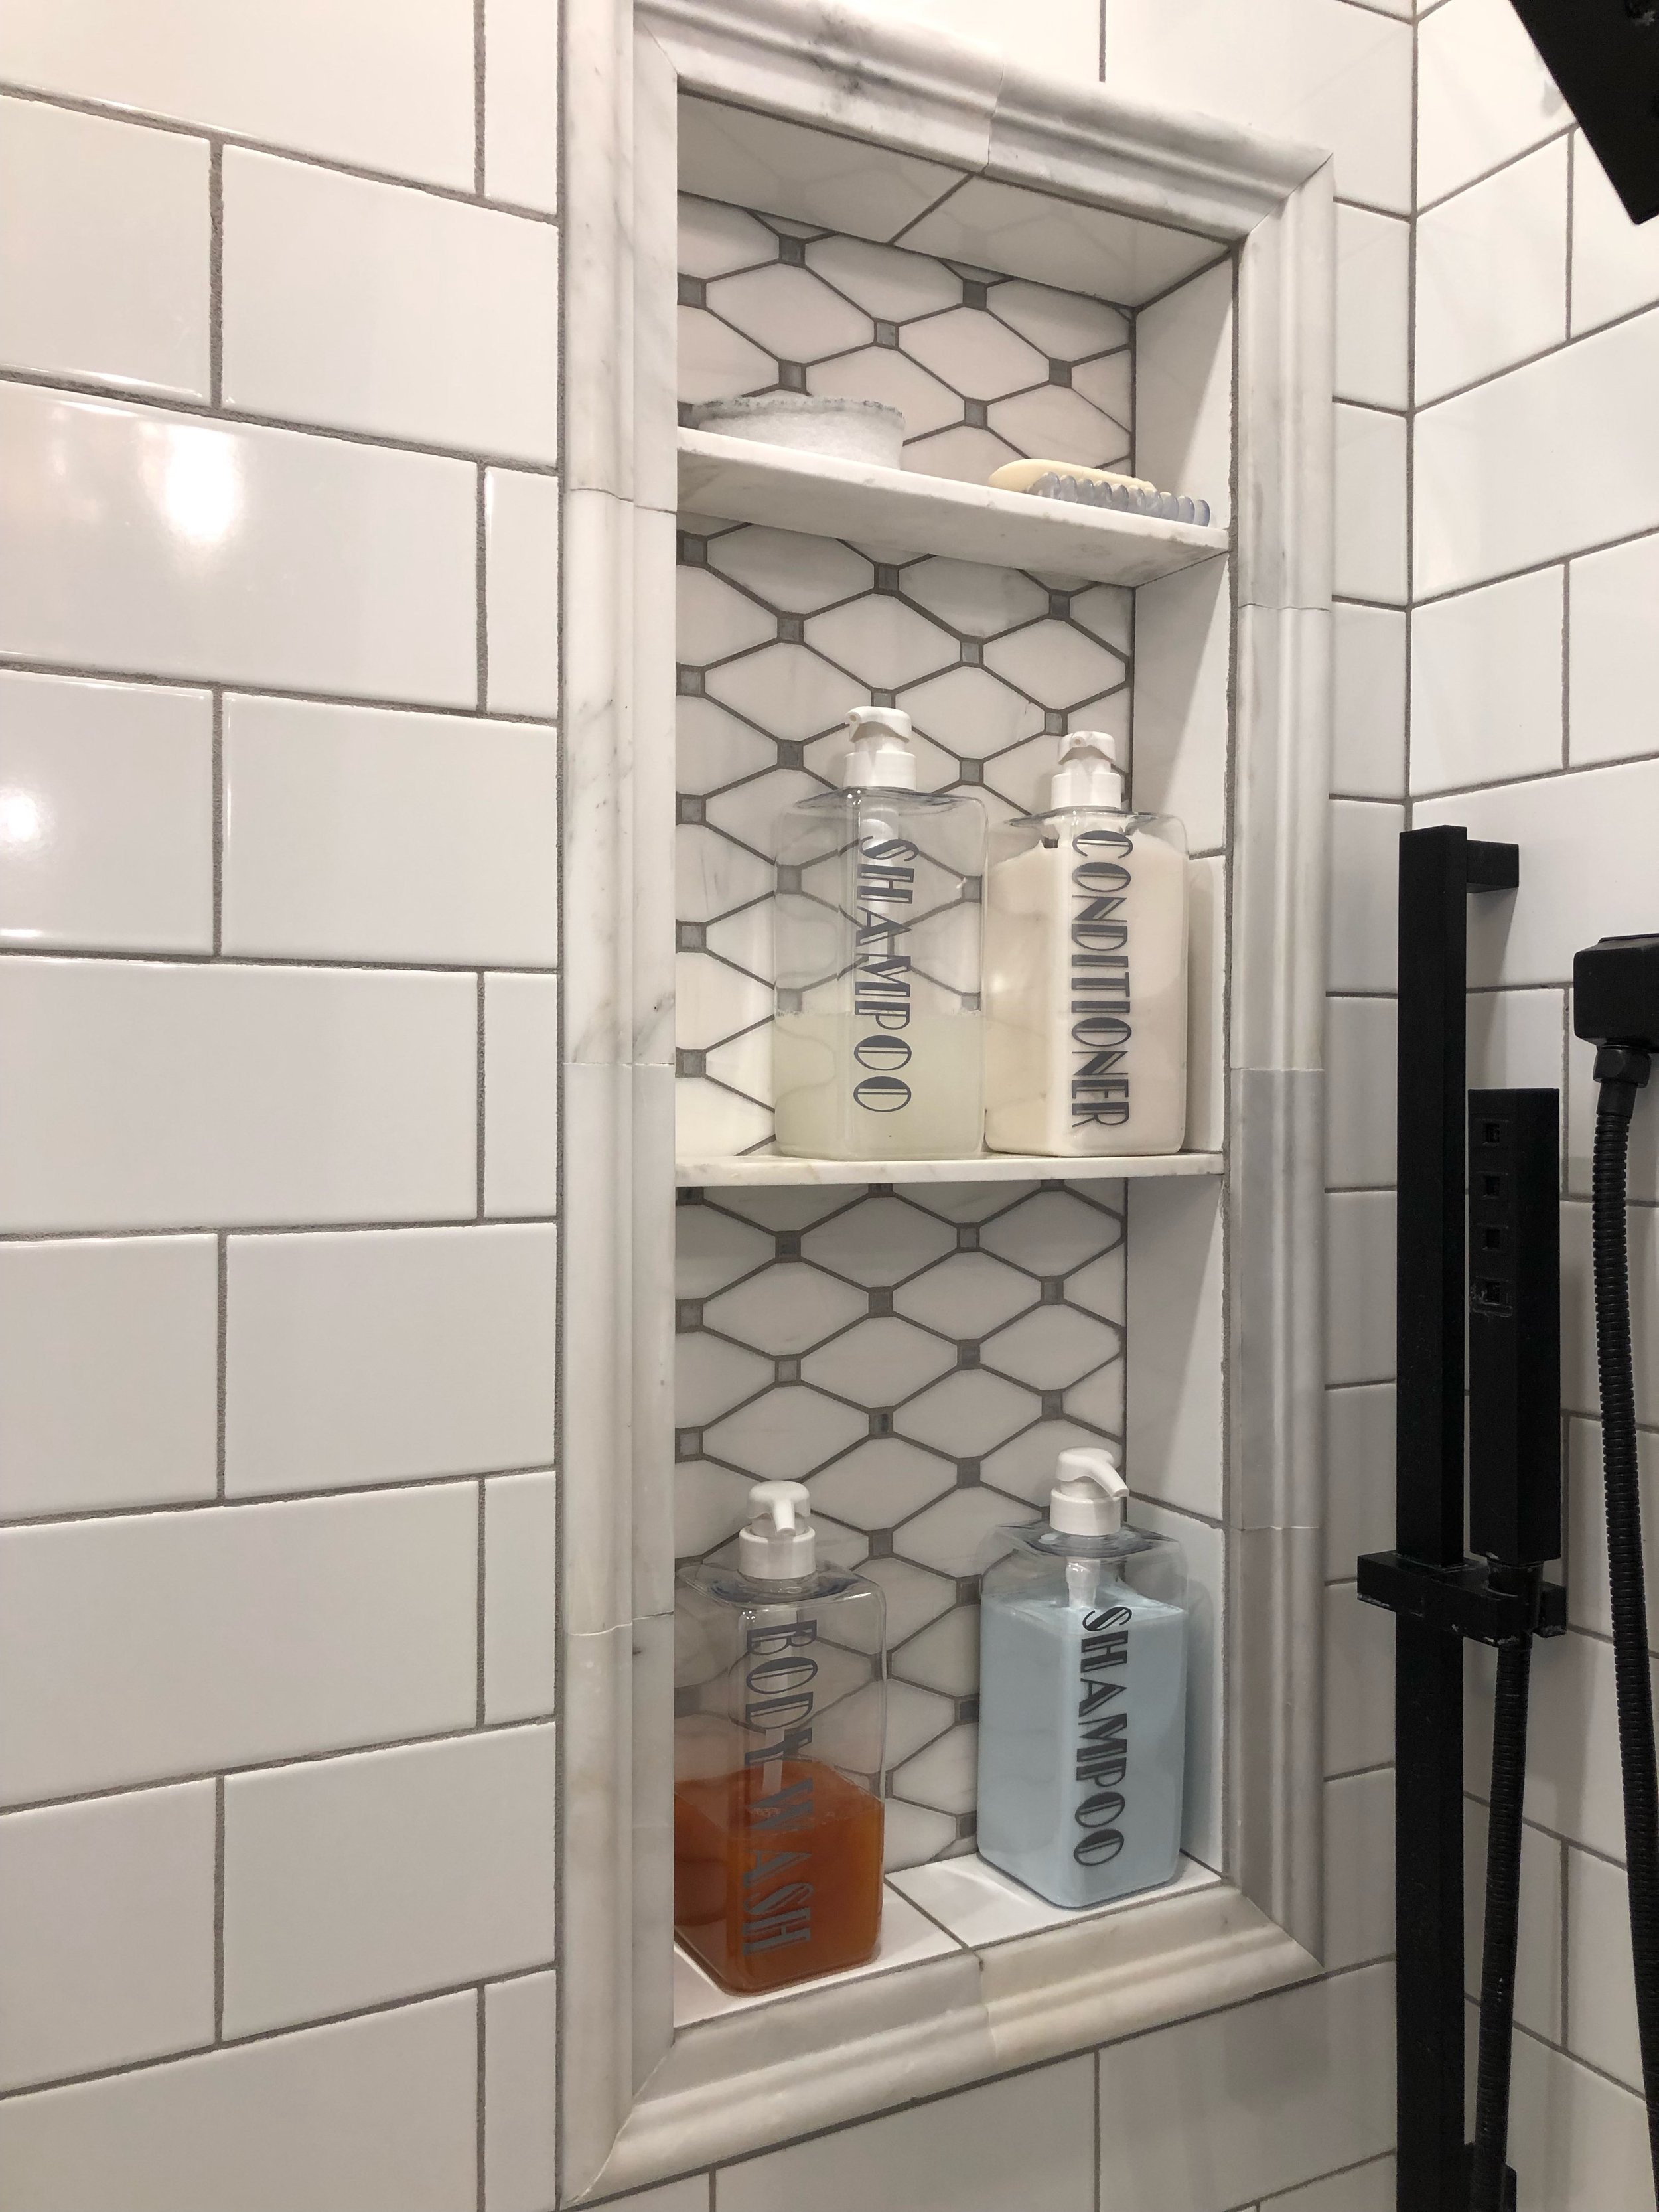
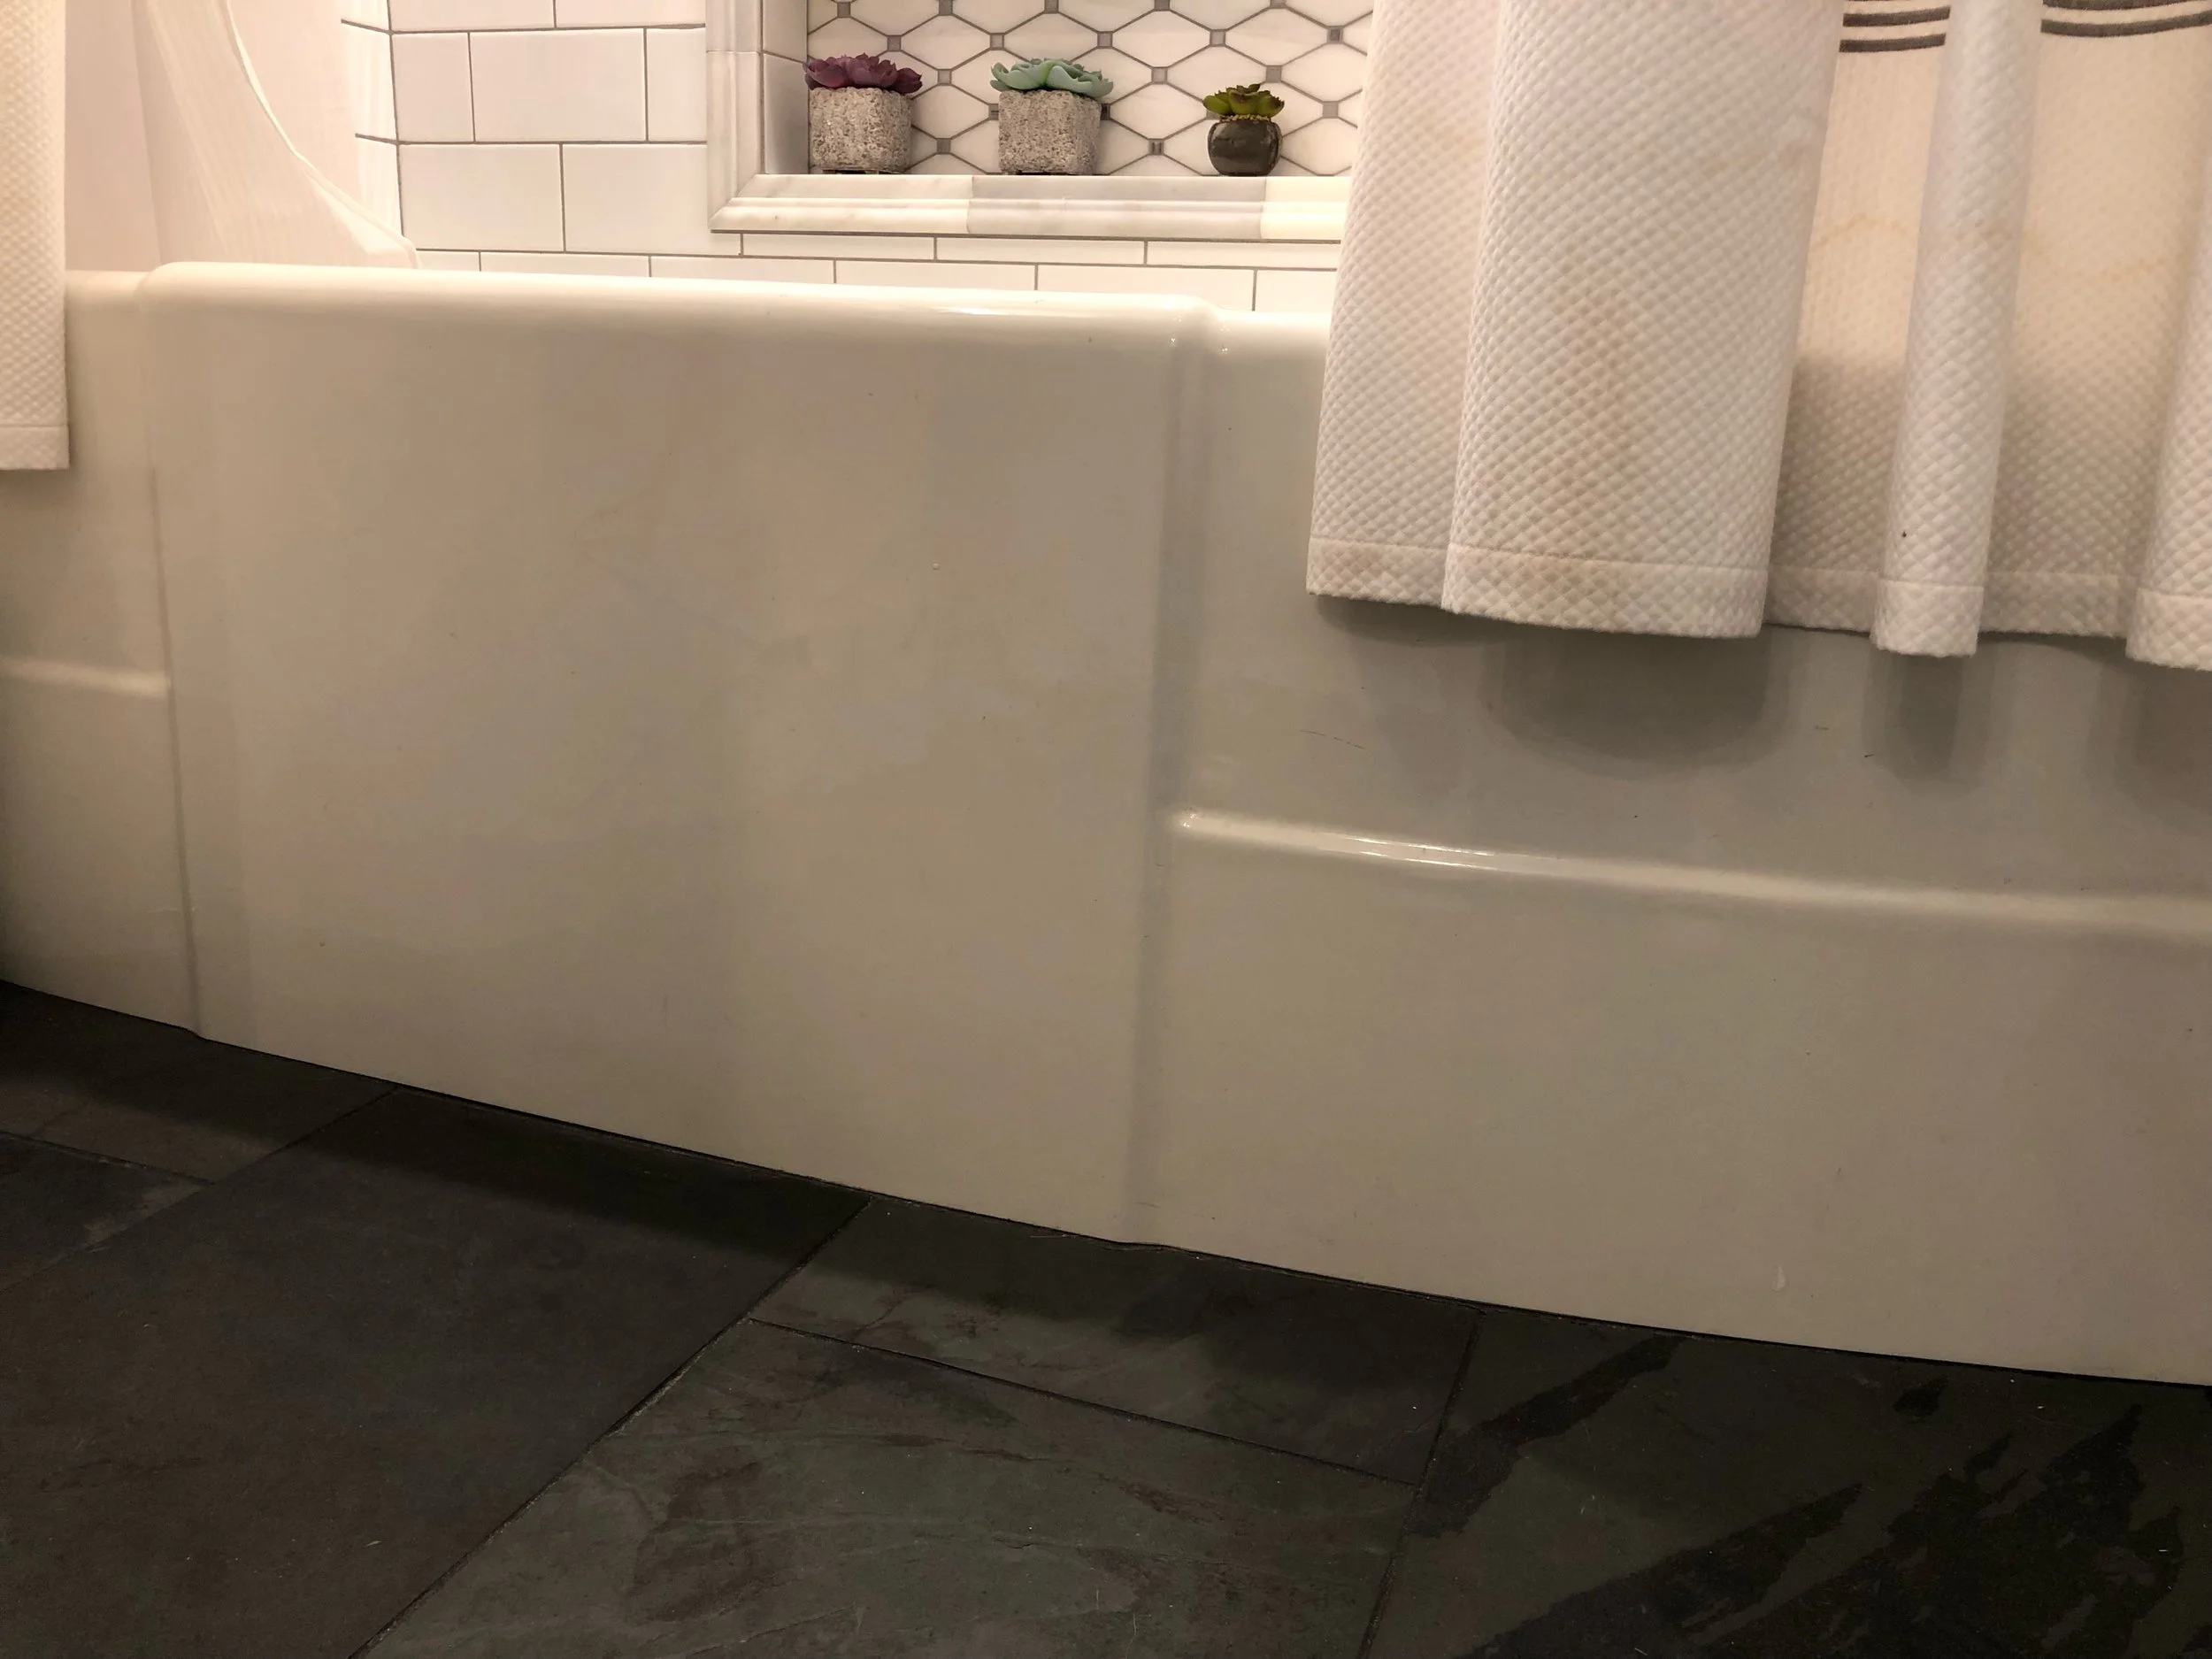
My fixture choices were directed by the simple but elegant style of the 1930’s. We decided on black finishes and white tiles to coordinate with the dark soapstone countertop and slate floor. Our splash of expense was on the rhomboid shaped marble for the niches, which reflect the geometry of the era. I wanted to keep it simple, and let the small details define the room.

The chandelier has a definite Empire State Building look to it, and casts a beautiful pattern on the ceiling, which is painted a different color than the rest of the room.

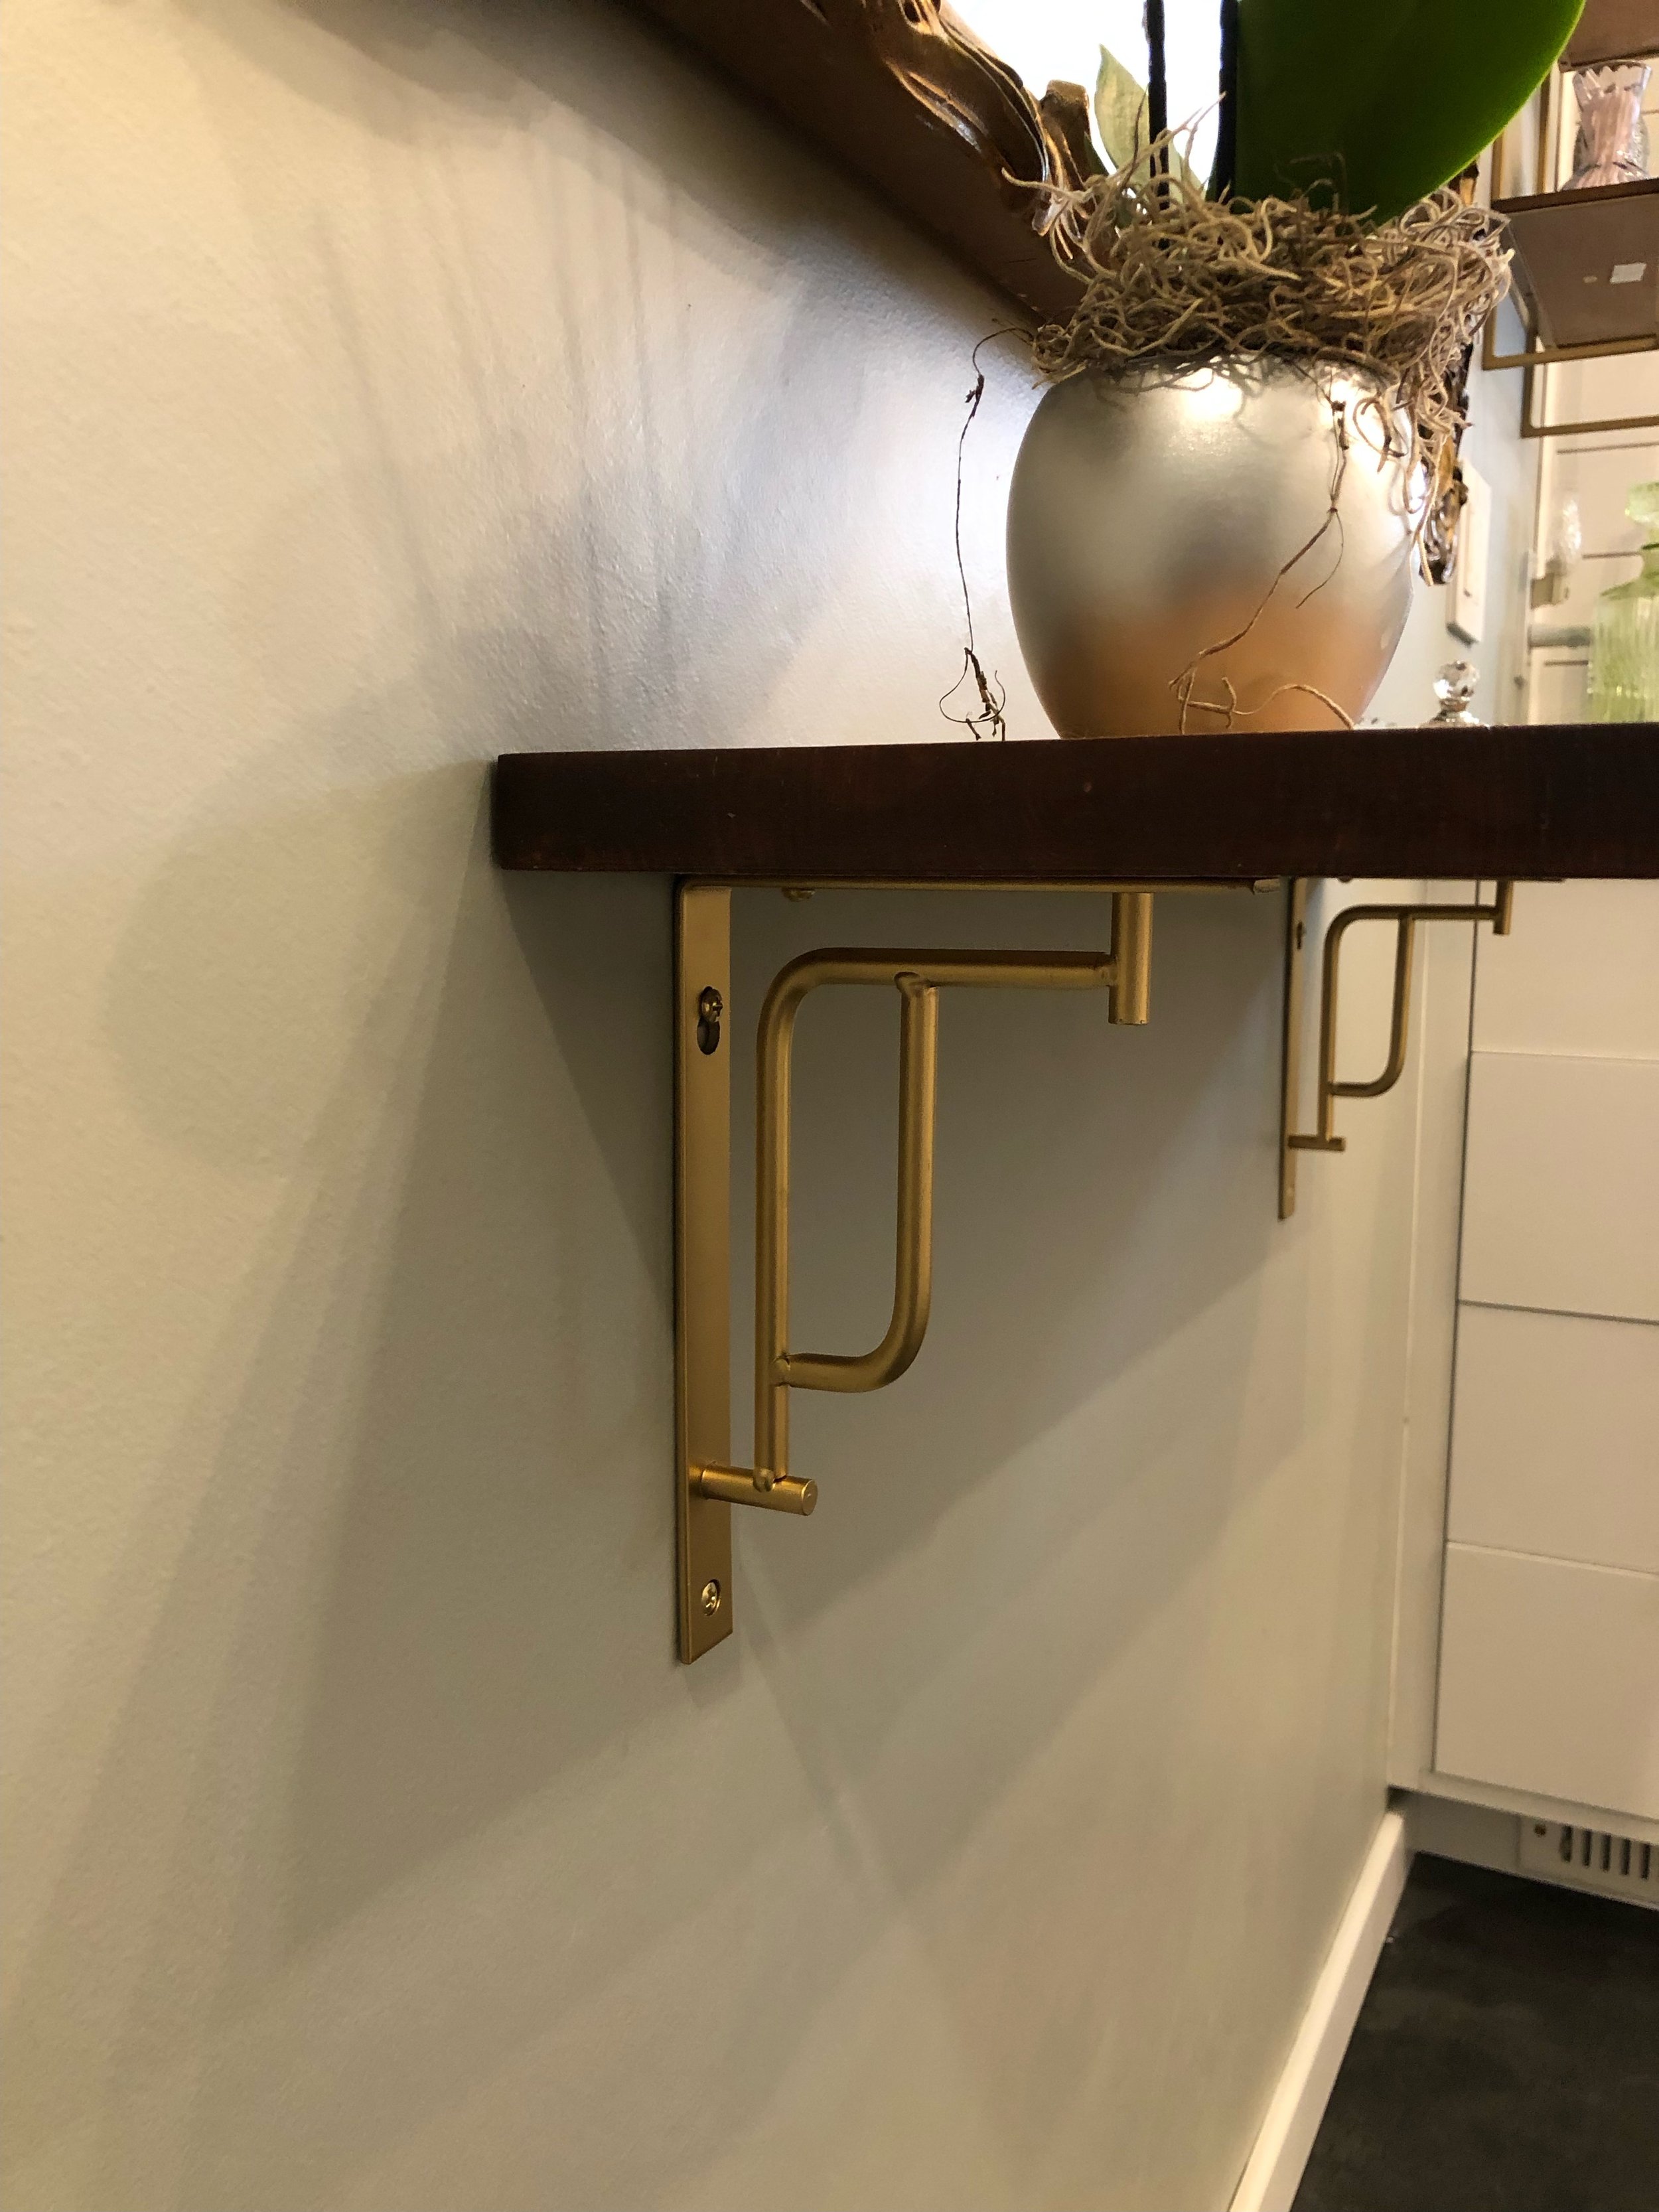
The small live edge shelf that is under the huge mirror, circa 1908, from my aunt and uncle’s house just off the Miracle Mile in Los Angeles, holds all I need. The brackets are reminiscent of the curved and stacked style of buildings of that design.
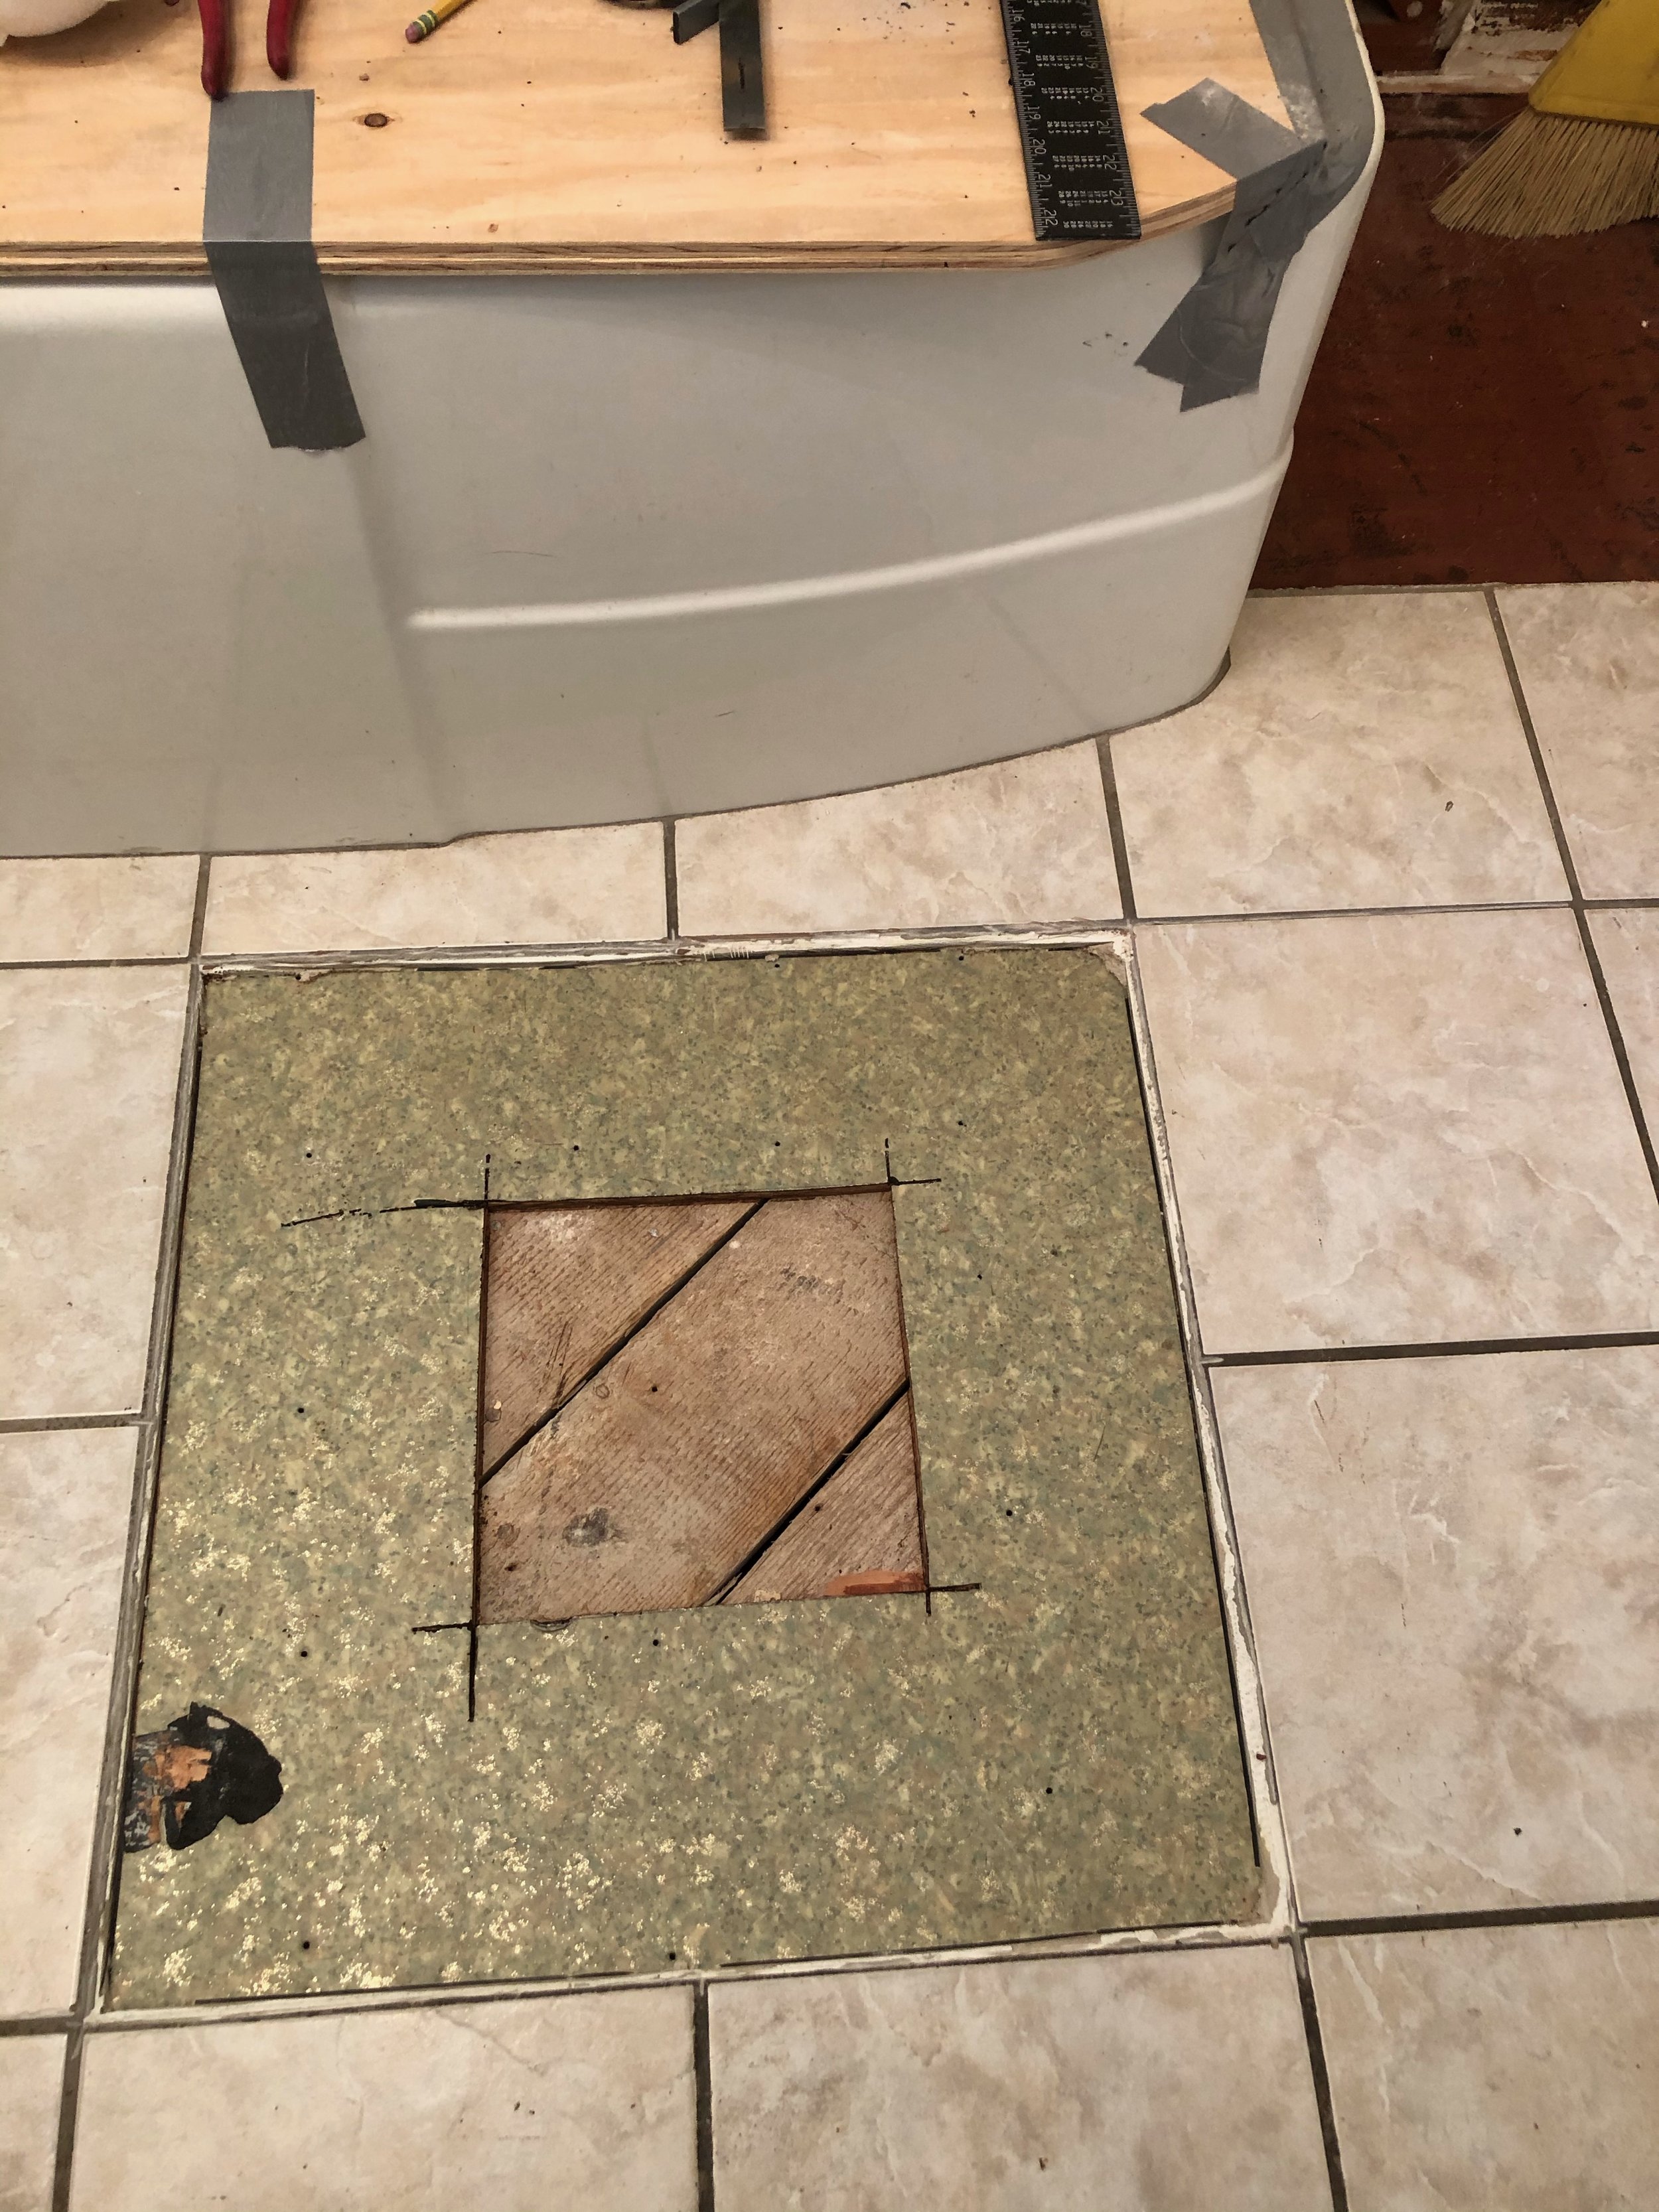
As I have mentioned, the tub was the driving force for the bathroom design. It is resembles the shape of many trains of the era.
The stencil in the toilet room was also inspired by one of the many geometric designs favored in the day. It resembles a stylized sunrise or elaborate headdress from one of the flashy Broadway Shows.

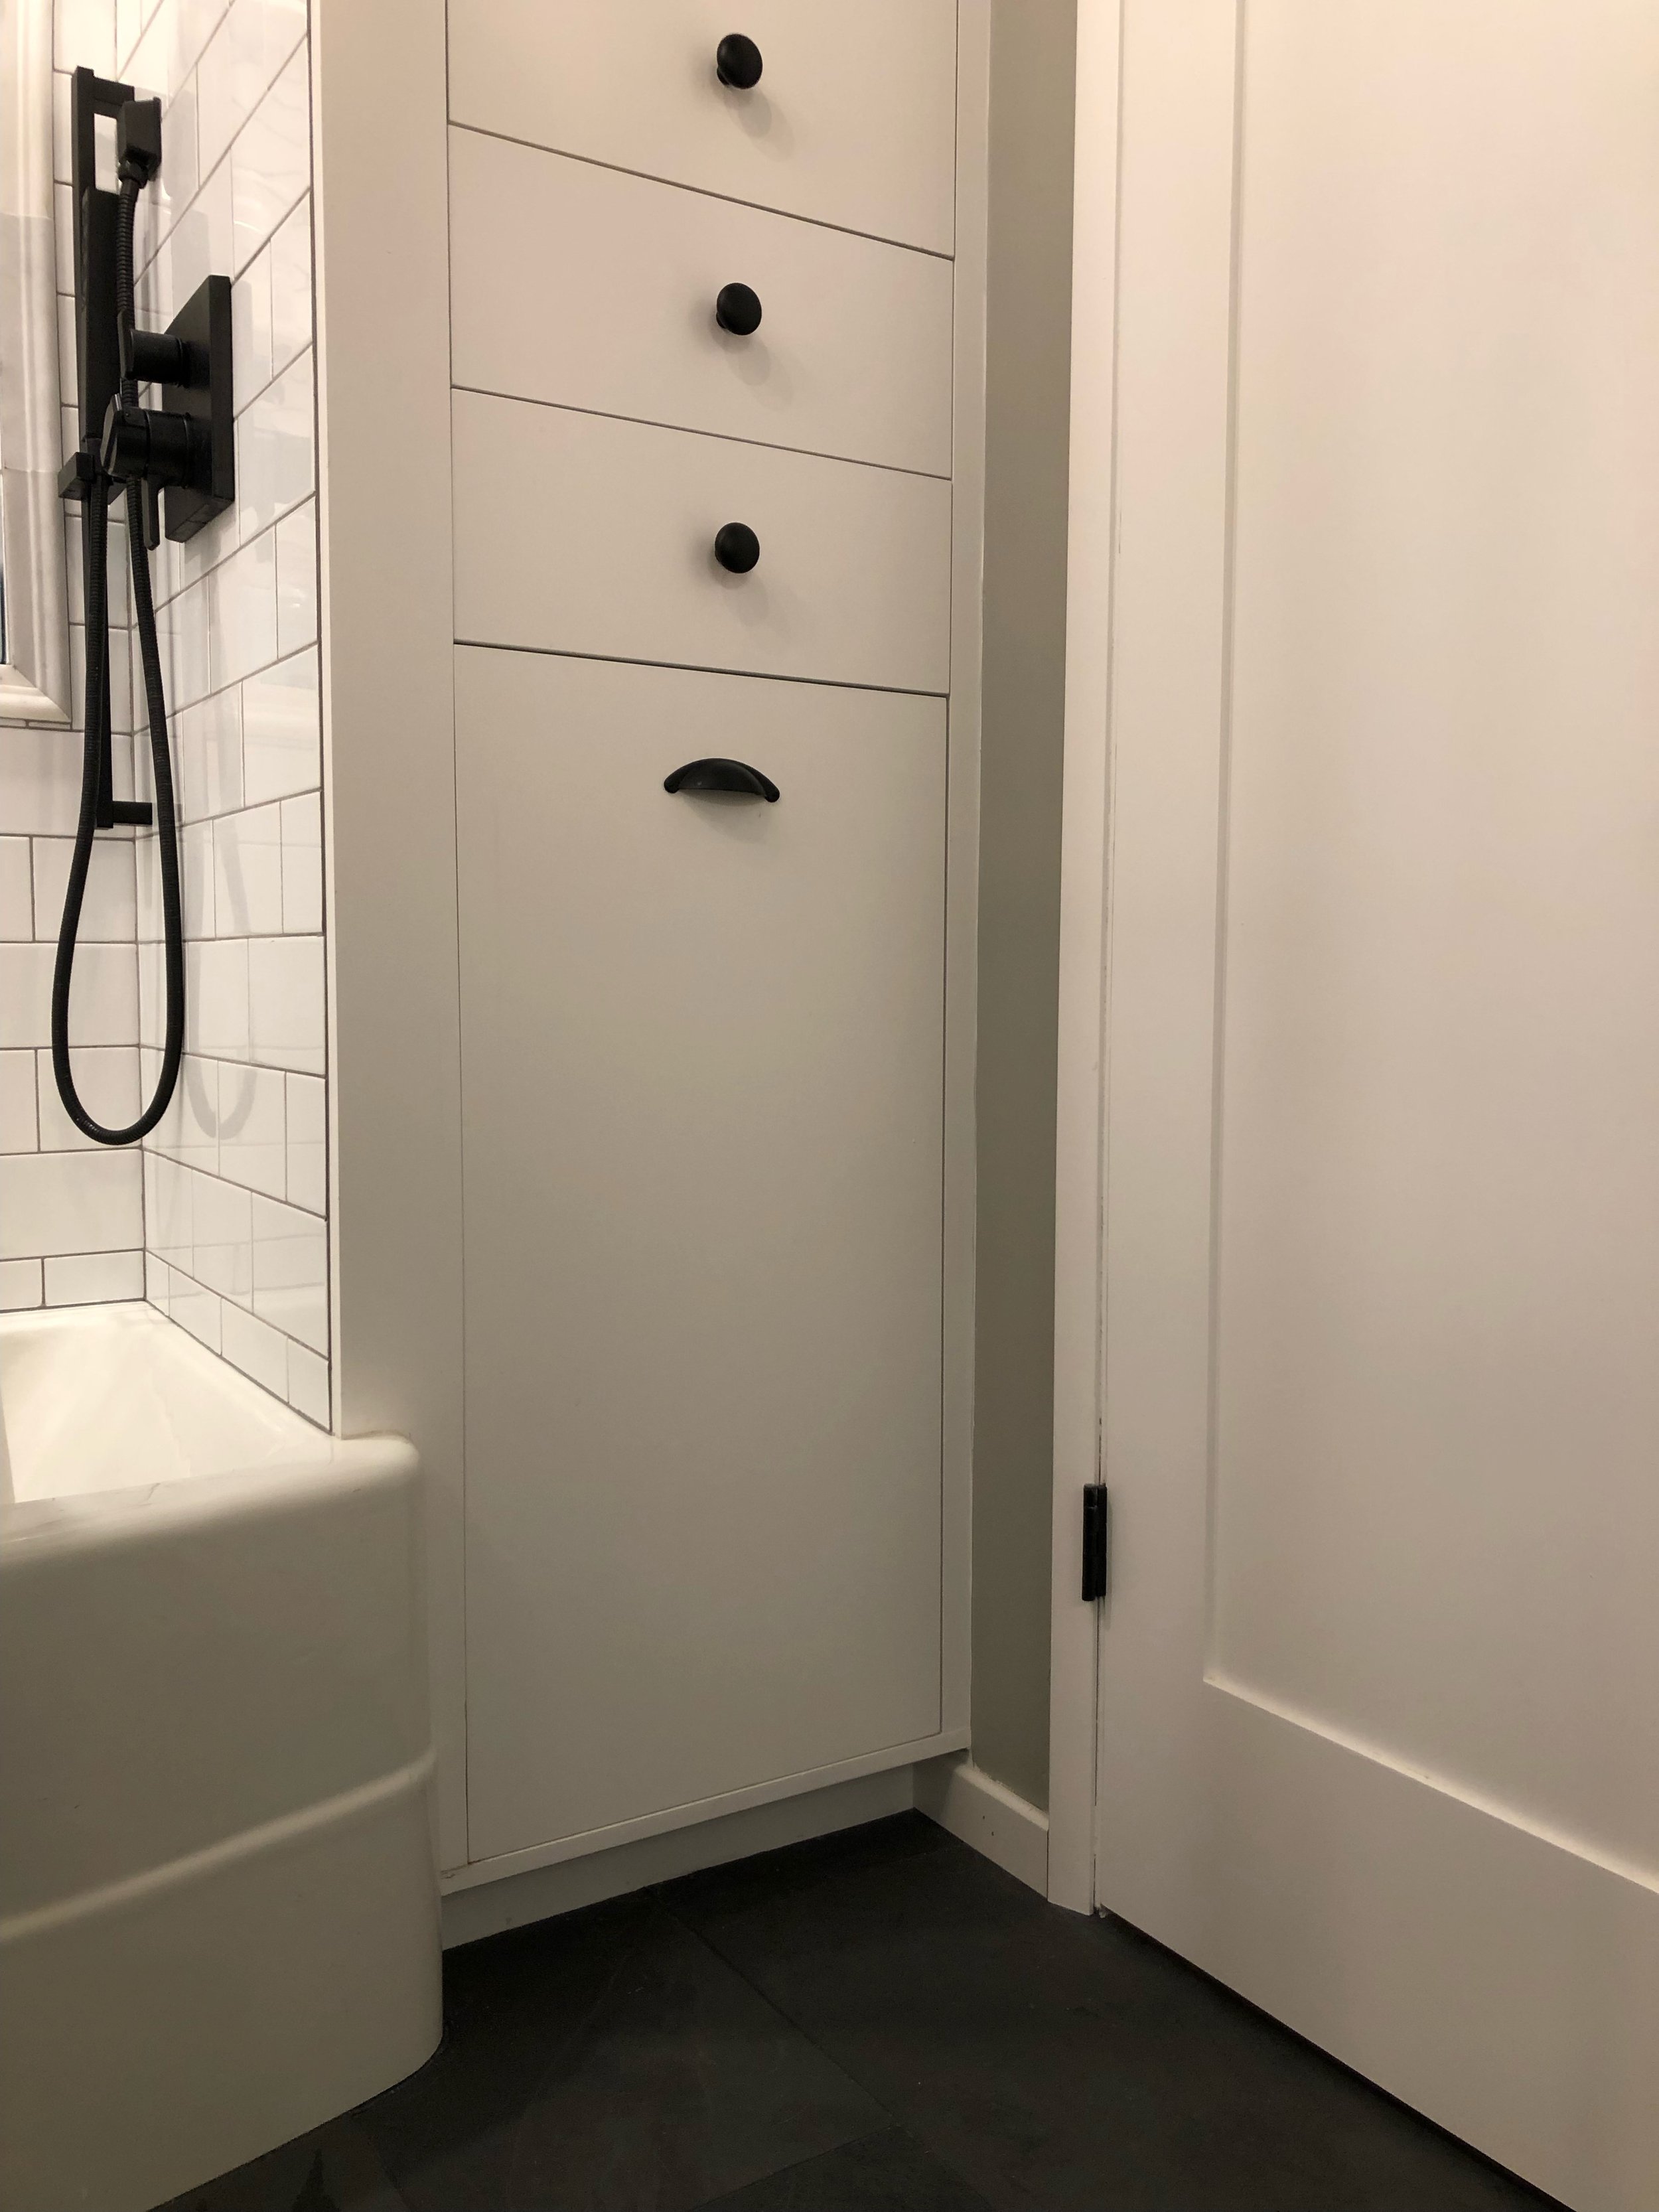
The X pattern inlay on the cabinet drawers was a nod to the rhomboid shapes in the bath niches. I left the center panel blank to keep it simple, but wanted the cabinets to have a little extra design interest.
Black and white colors were used in the 1930’s as they complimented the many bright to subdued colors used. Colors ran from bright turquoise and pink and lots of teal, black and white featured everywhere. Metallic’s were very popular, you saw them in wall coverings and inlays as well as furniture accents.
The Art Deco era was a fun and creative time. It was bracketed by the sinuous botanicals from the Art Nouveau and the Arts and Crafts style that brought in more geometrics. You can see elements of all these shapes in the Art Deco designs.
All of these little touches add just the right amount of interest to an otherwise plain bathroom. And, the engineer did all the installations, which were tedious at times, but worth the effort.